This manual covers FilmLab Desktop version 3.0
Welcome to the FilmLab Desktop manual. This is a complete reference to all the features in FilmLab for macOS and FilmLab for Windows.
Downloading and Installing FilmLab
You can download the latest version of FilmLab desktop from https://www.filmlabapp.com/desktop. Choose the version that runs on your computer and download it.
If you’re using Windows, you’ll get an executable installer that you can run to install FilmLab.
If you’re on a Mac, you’ll get a Disk Image file containing the FilmLab application. Open this file and drag the FilmLab application into your Applications folder.
Getting a FilmLab License
When you install FilmLab for the first time, you can test it out for free on a limited number of files. That way you can try before you buy and make sure FilmLab is a good fit for your needs. To keep using it beyond the trial period you’ll need a license.
There are three ways to get a license:
- You can buy a FilmLab license as a one-time purchase, and get future upgrades for free. This is called a lifetime license. It’s definitely the best deal if you’re planning to use FilmLab over the long term
- You can subscribe to FilmLab on a month-to-month or annual basis, and cancel your subscription when you’re done. If you cancel your subscription, you’ll still be able to use FilmLab to work with files you’ve already converted, but you won’t be able to convert any new files.
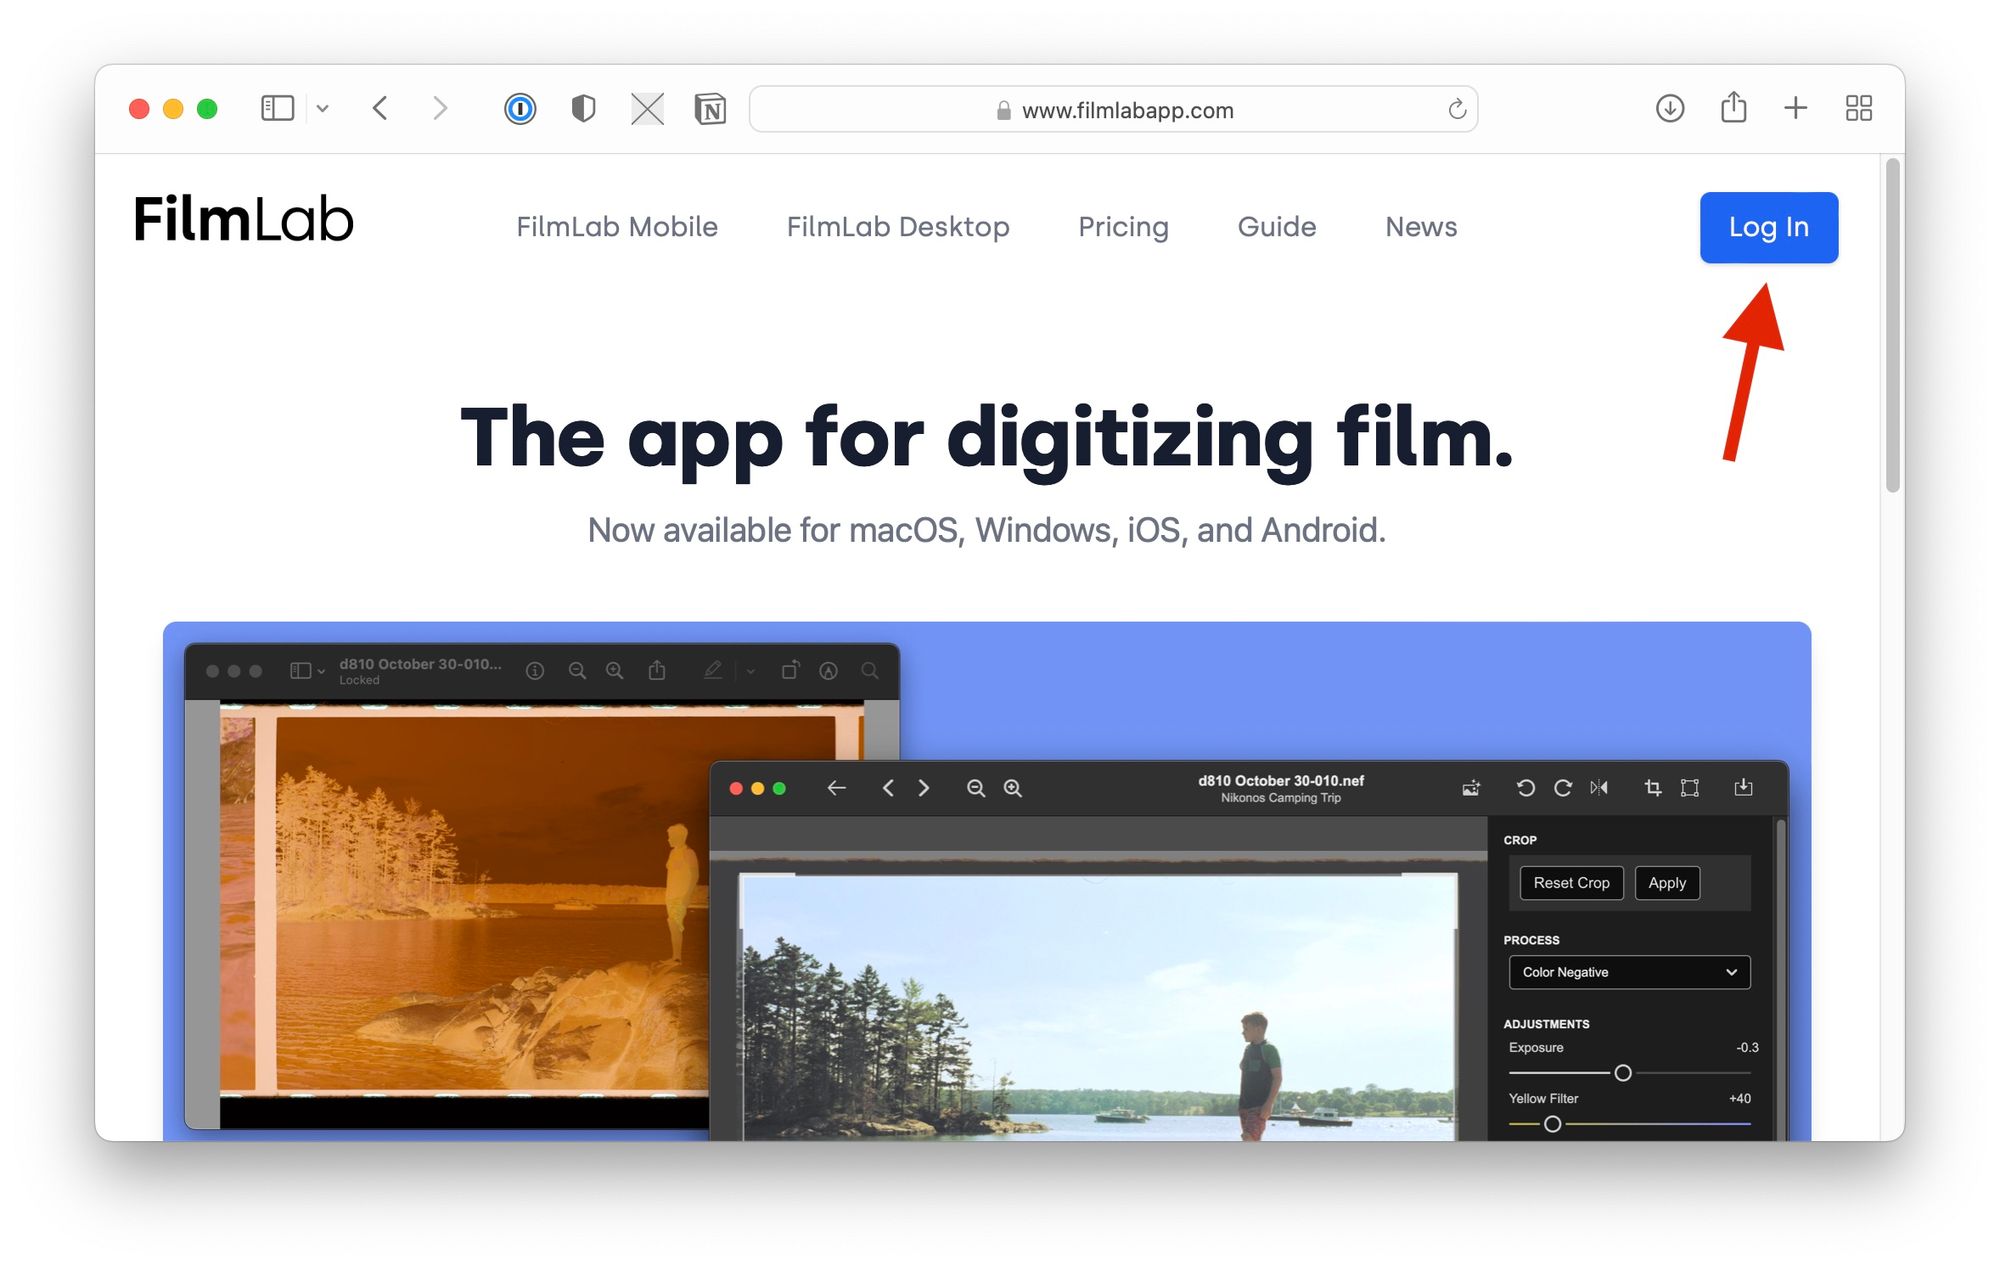
In any case, to get an activate FilmLab license you’ll need to register for an account on the FilmLab website. To do this, go to https://www.filmlabapp.com/ and click the “Log In” button in the top right corner (or in the ☰ menu if you’re on mobile):
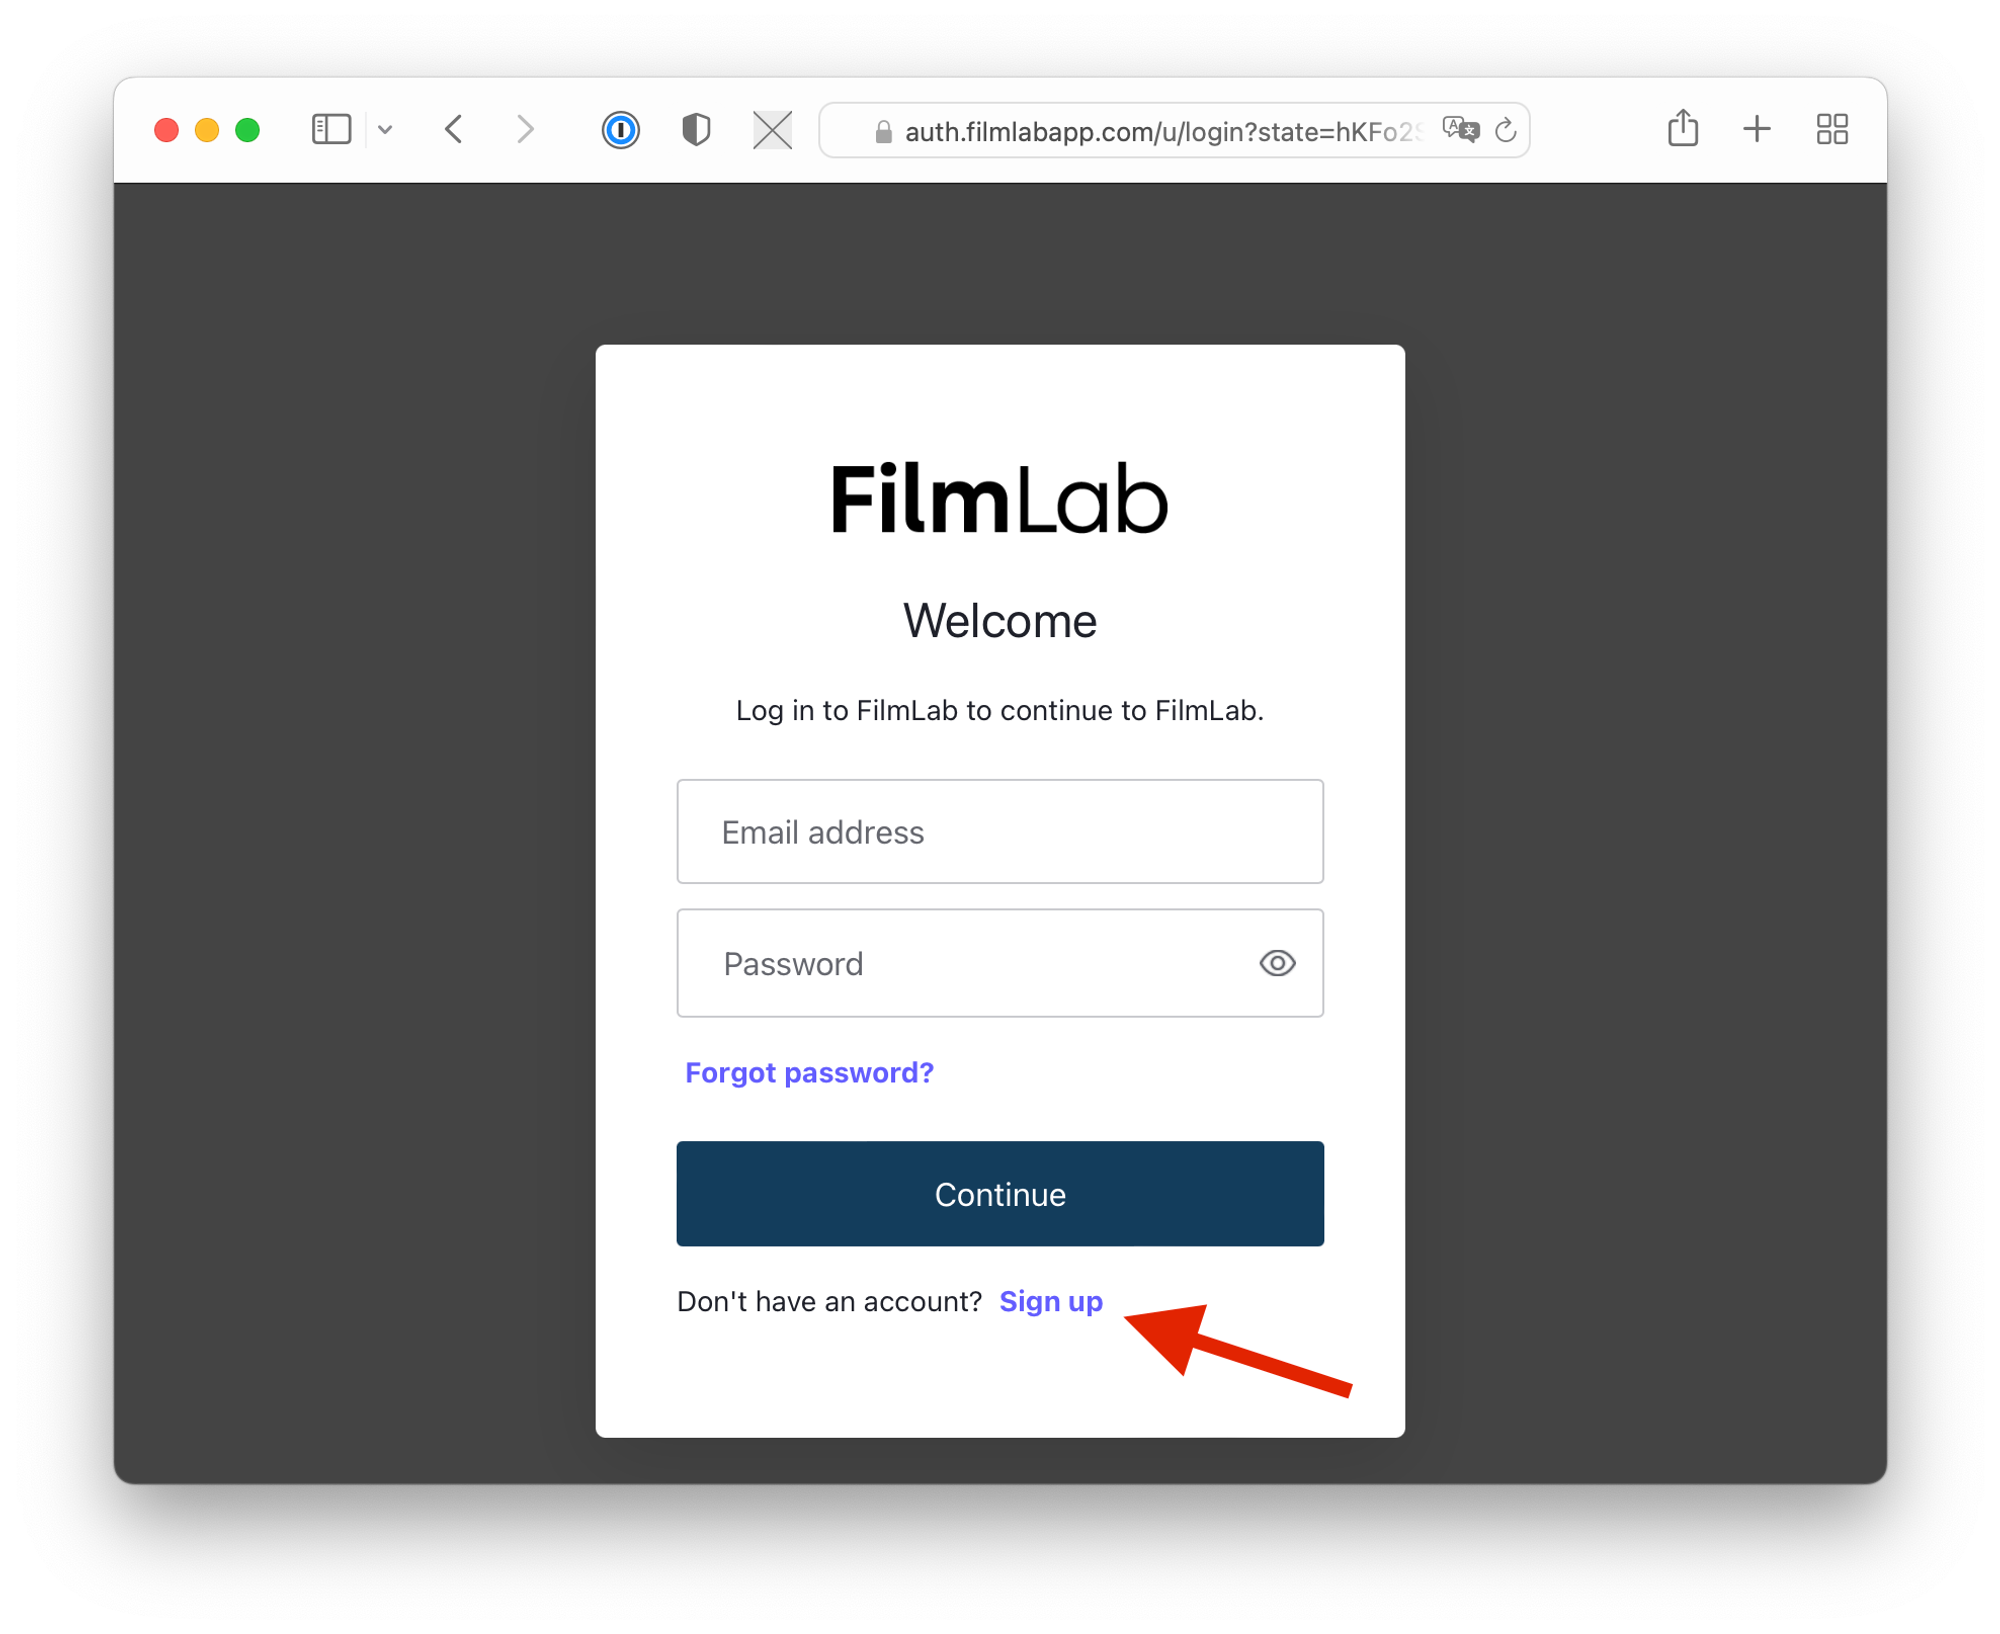
On the next screen, click “Sign up”. Then enter your email address and choose a password.
After logging in, you’ll be taken to your account management page at https://www.filmlabapp.com/account. On this page, you can purchase a lifetime license, sign up for a subscription, or redeem a license code that came with your hardware.
Activating Your License
When you first install FilmLab on a new computer, you won’t have an active license. To apply your license, enter your FilmLab account email address and password into the FilmLab app.
First, open the FilmLab account window. On a Mac you can find this in the top menu under FilmLab → Account, or use the keyboard shortcut
Cmd+,. In Windows, open the menu item File → Account, or use the keyboard shortcut Ctrl+,.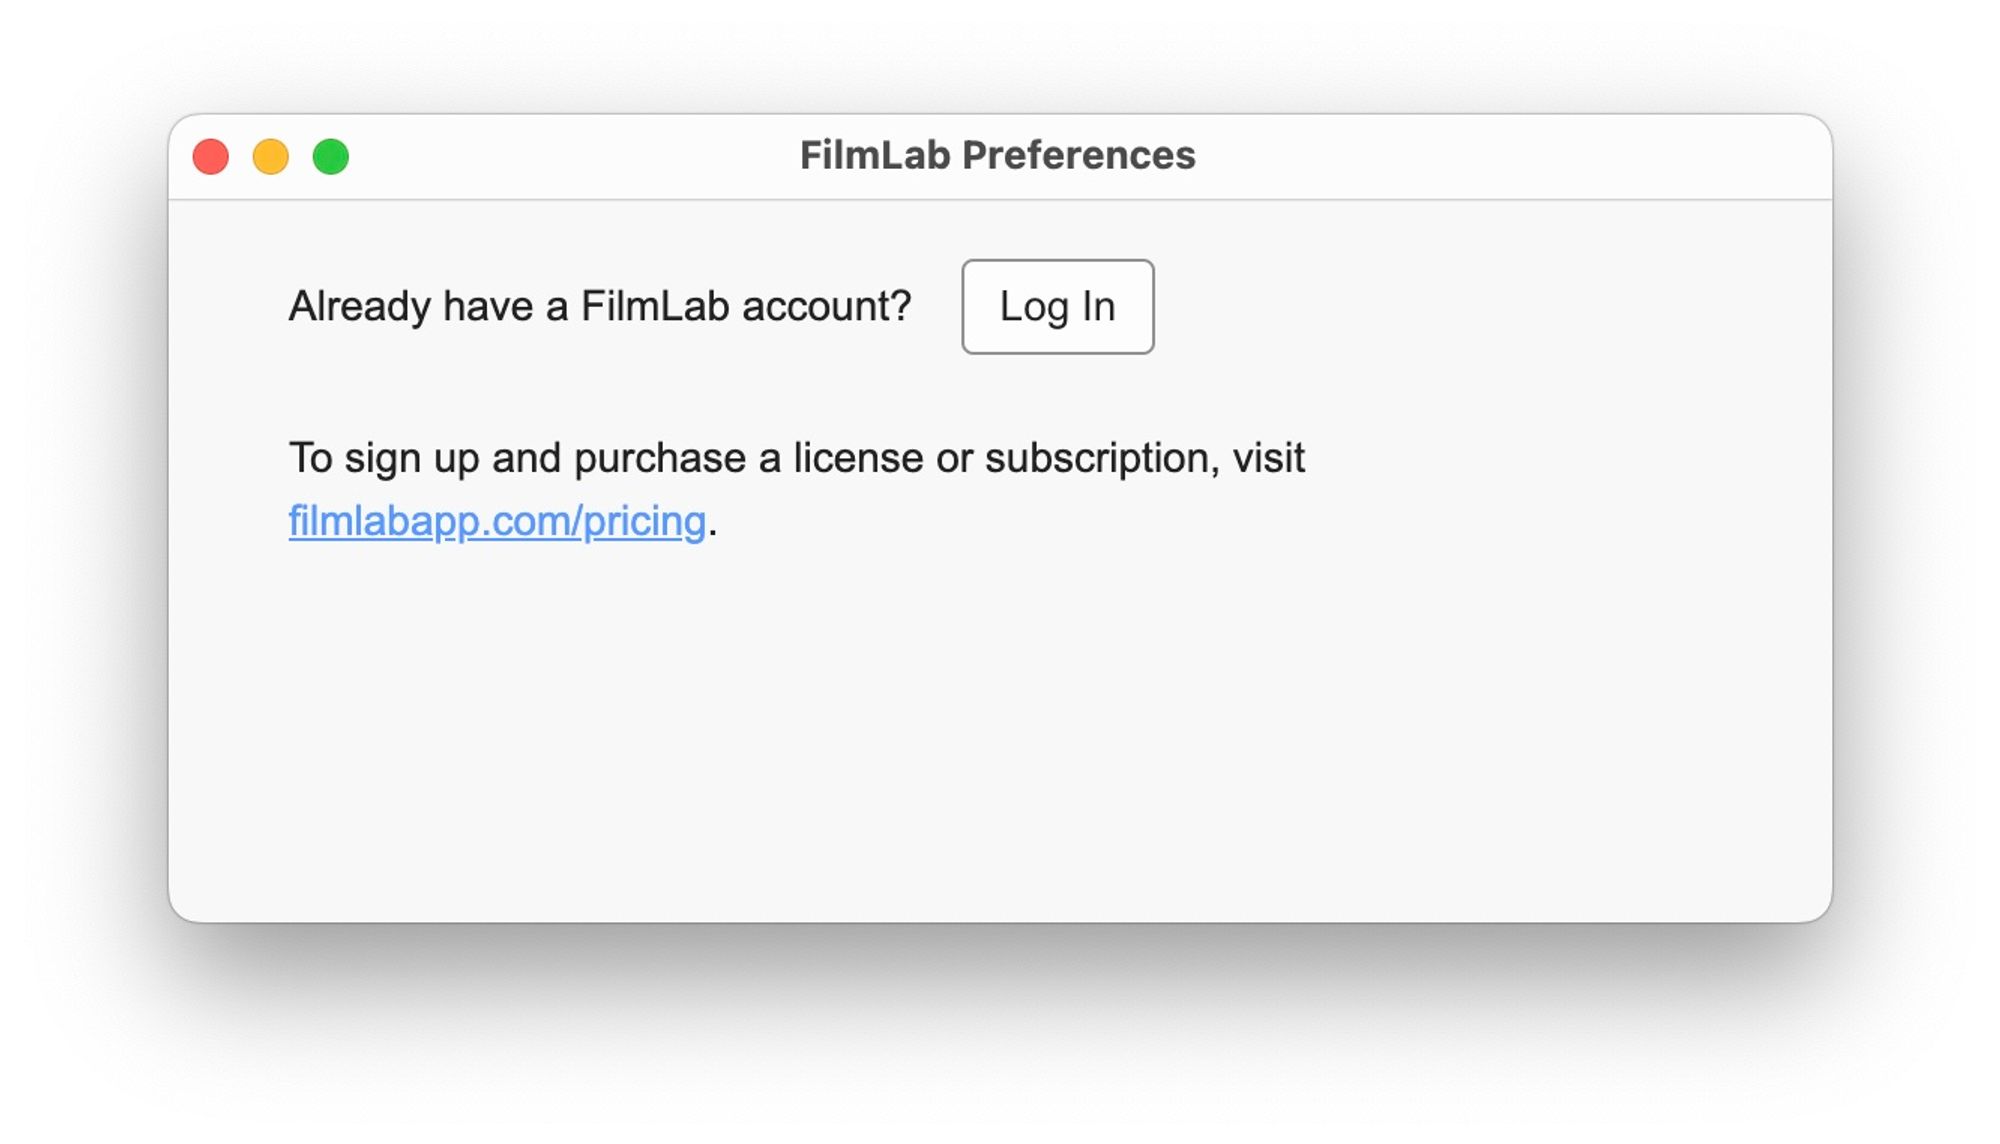
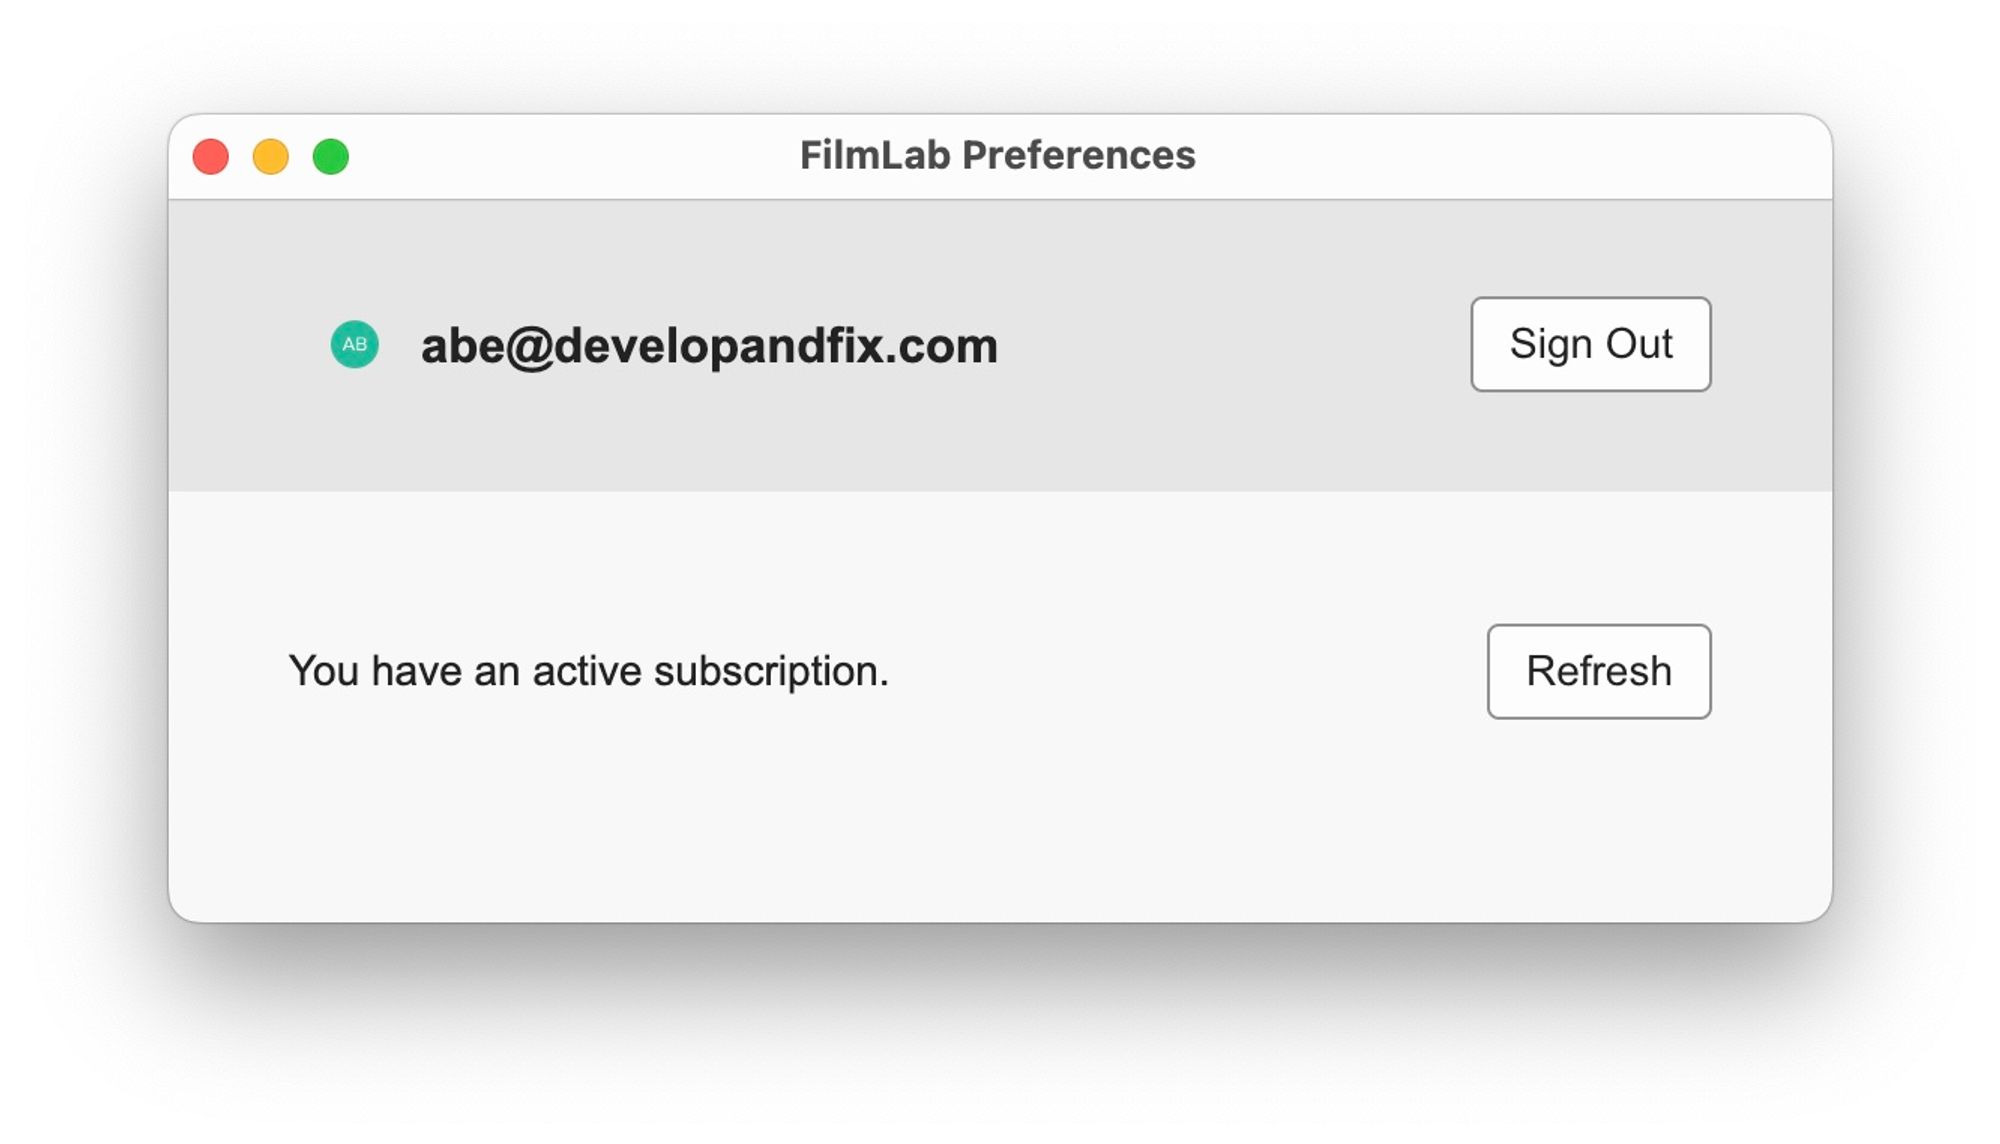
Press the Log In button and enter your email address and password when prompted. The account window will now show your email address and license status.
The About Window
Before we get to the main FilmLab window, there’s one other window you might want to know about: About FilmLab. You can open this window via the menu option
FilmLab → About FilmLab (macOS) or Help → About FilmLab (Windows).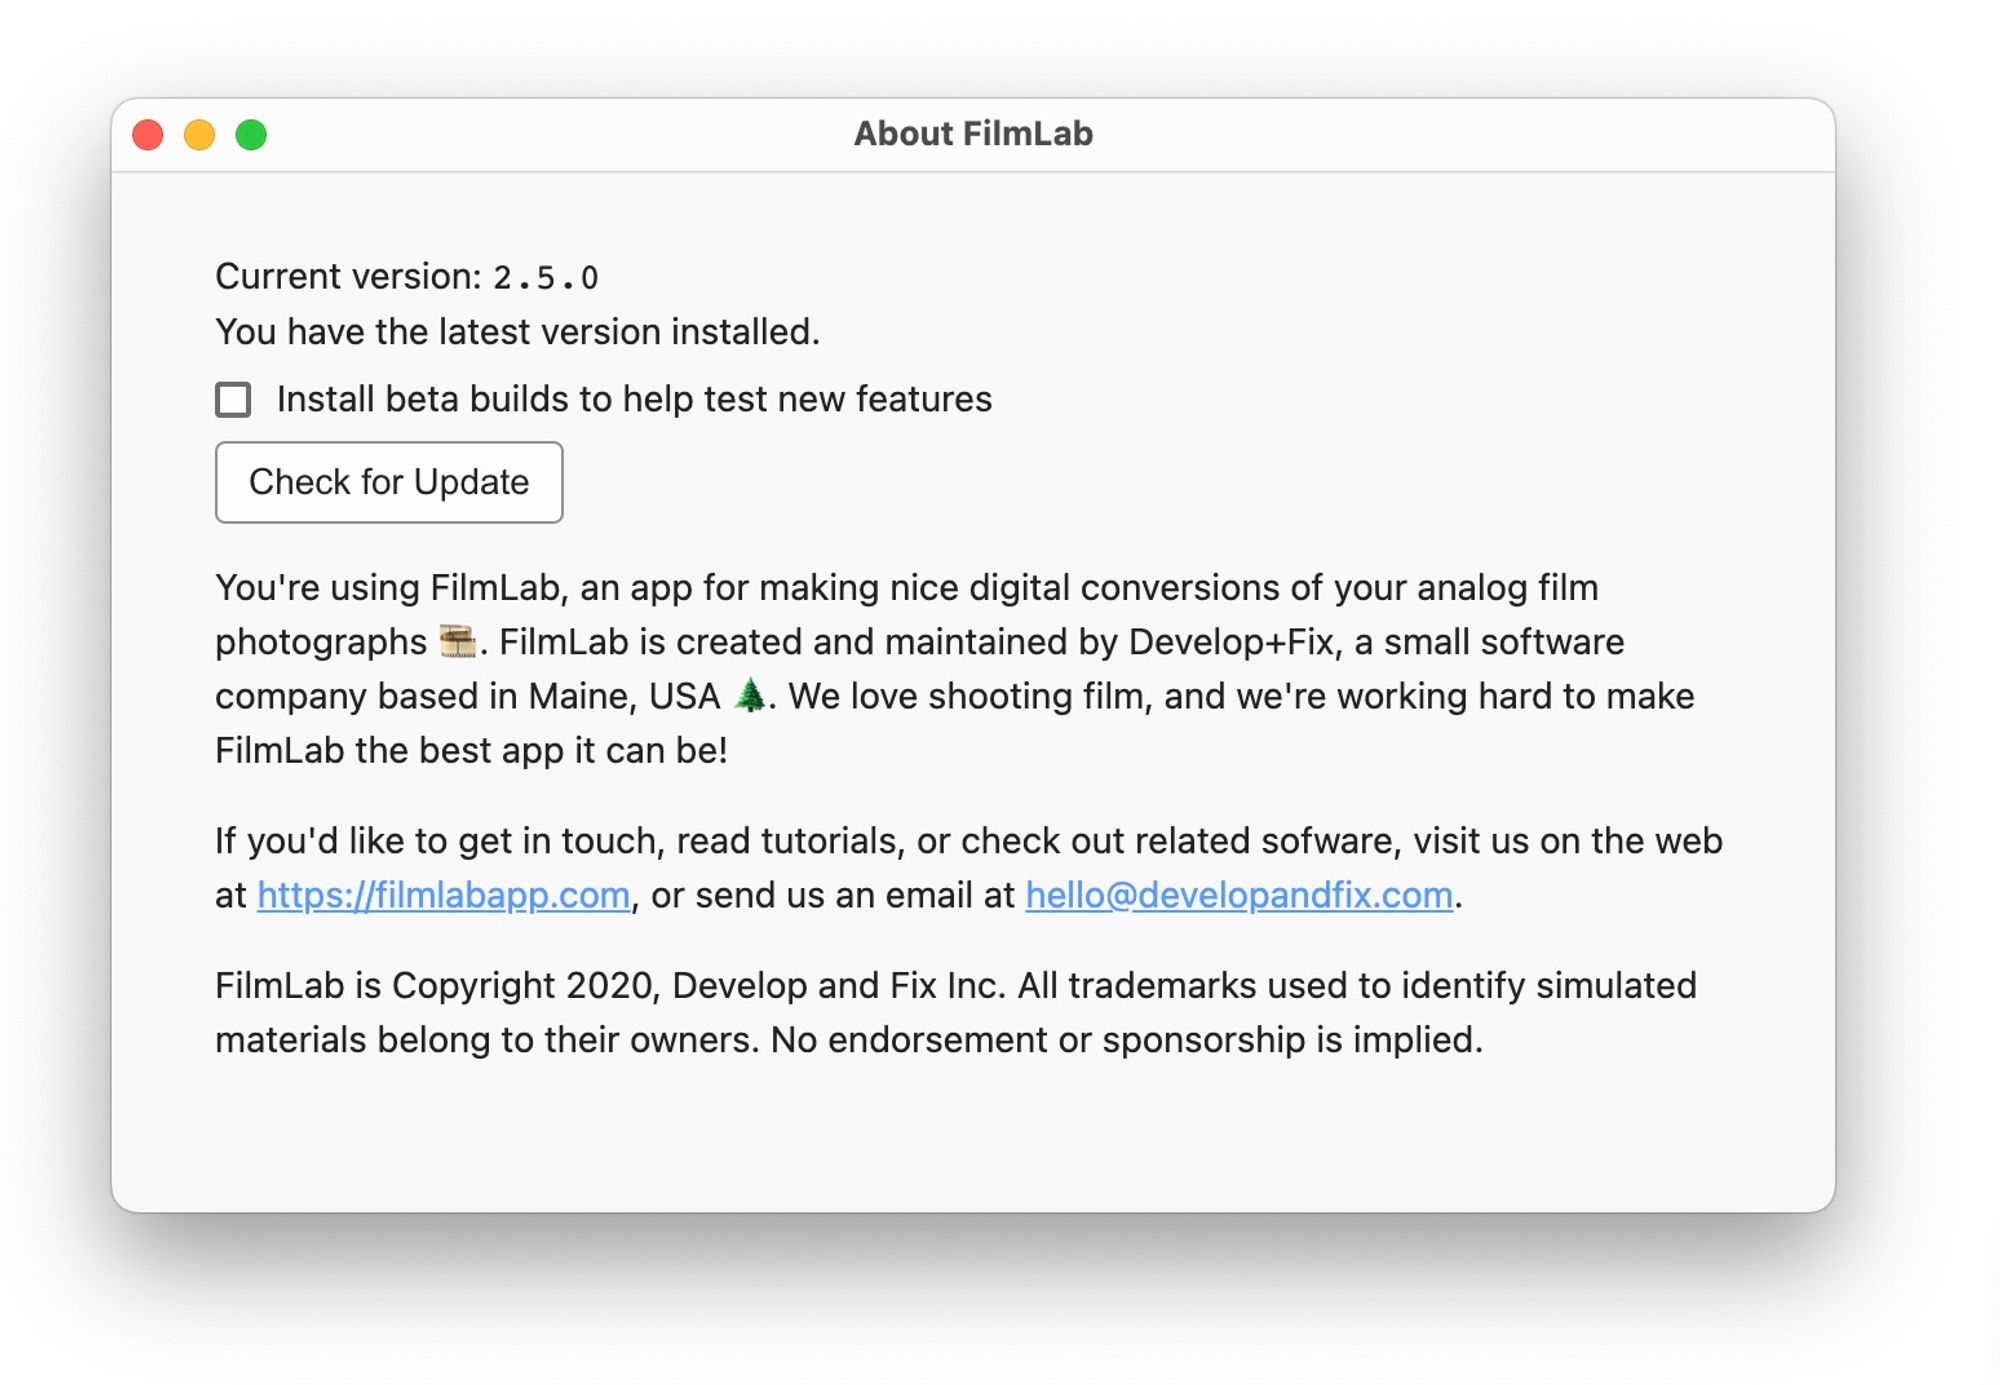
The About window lets you see your current FilmLab version, check for updates, and choose whether you’d like to install beta builds if available. If you install a beta build and decide you’d rather go back to the stable released version just uncheck the “Install beta builds” checkbox. The latest stable release will automatically be downloaded, and you’ll be prompted to restart and install.
Main Window: The Folder View
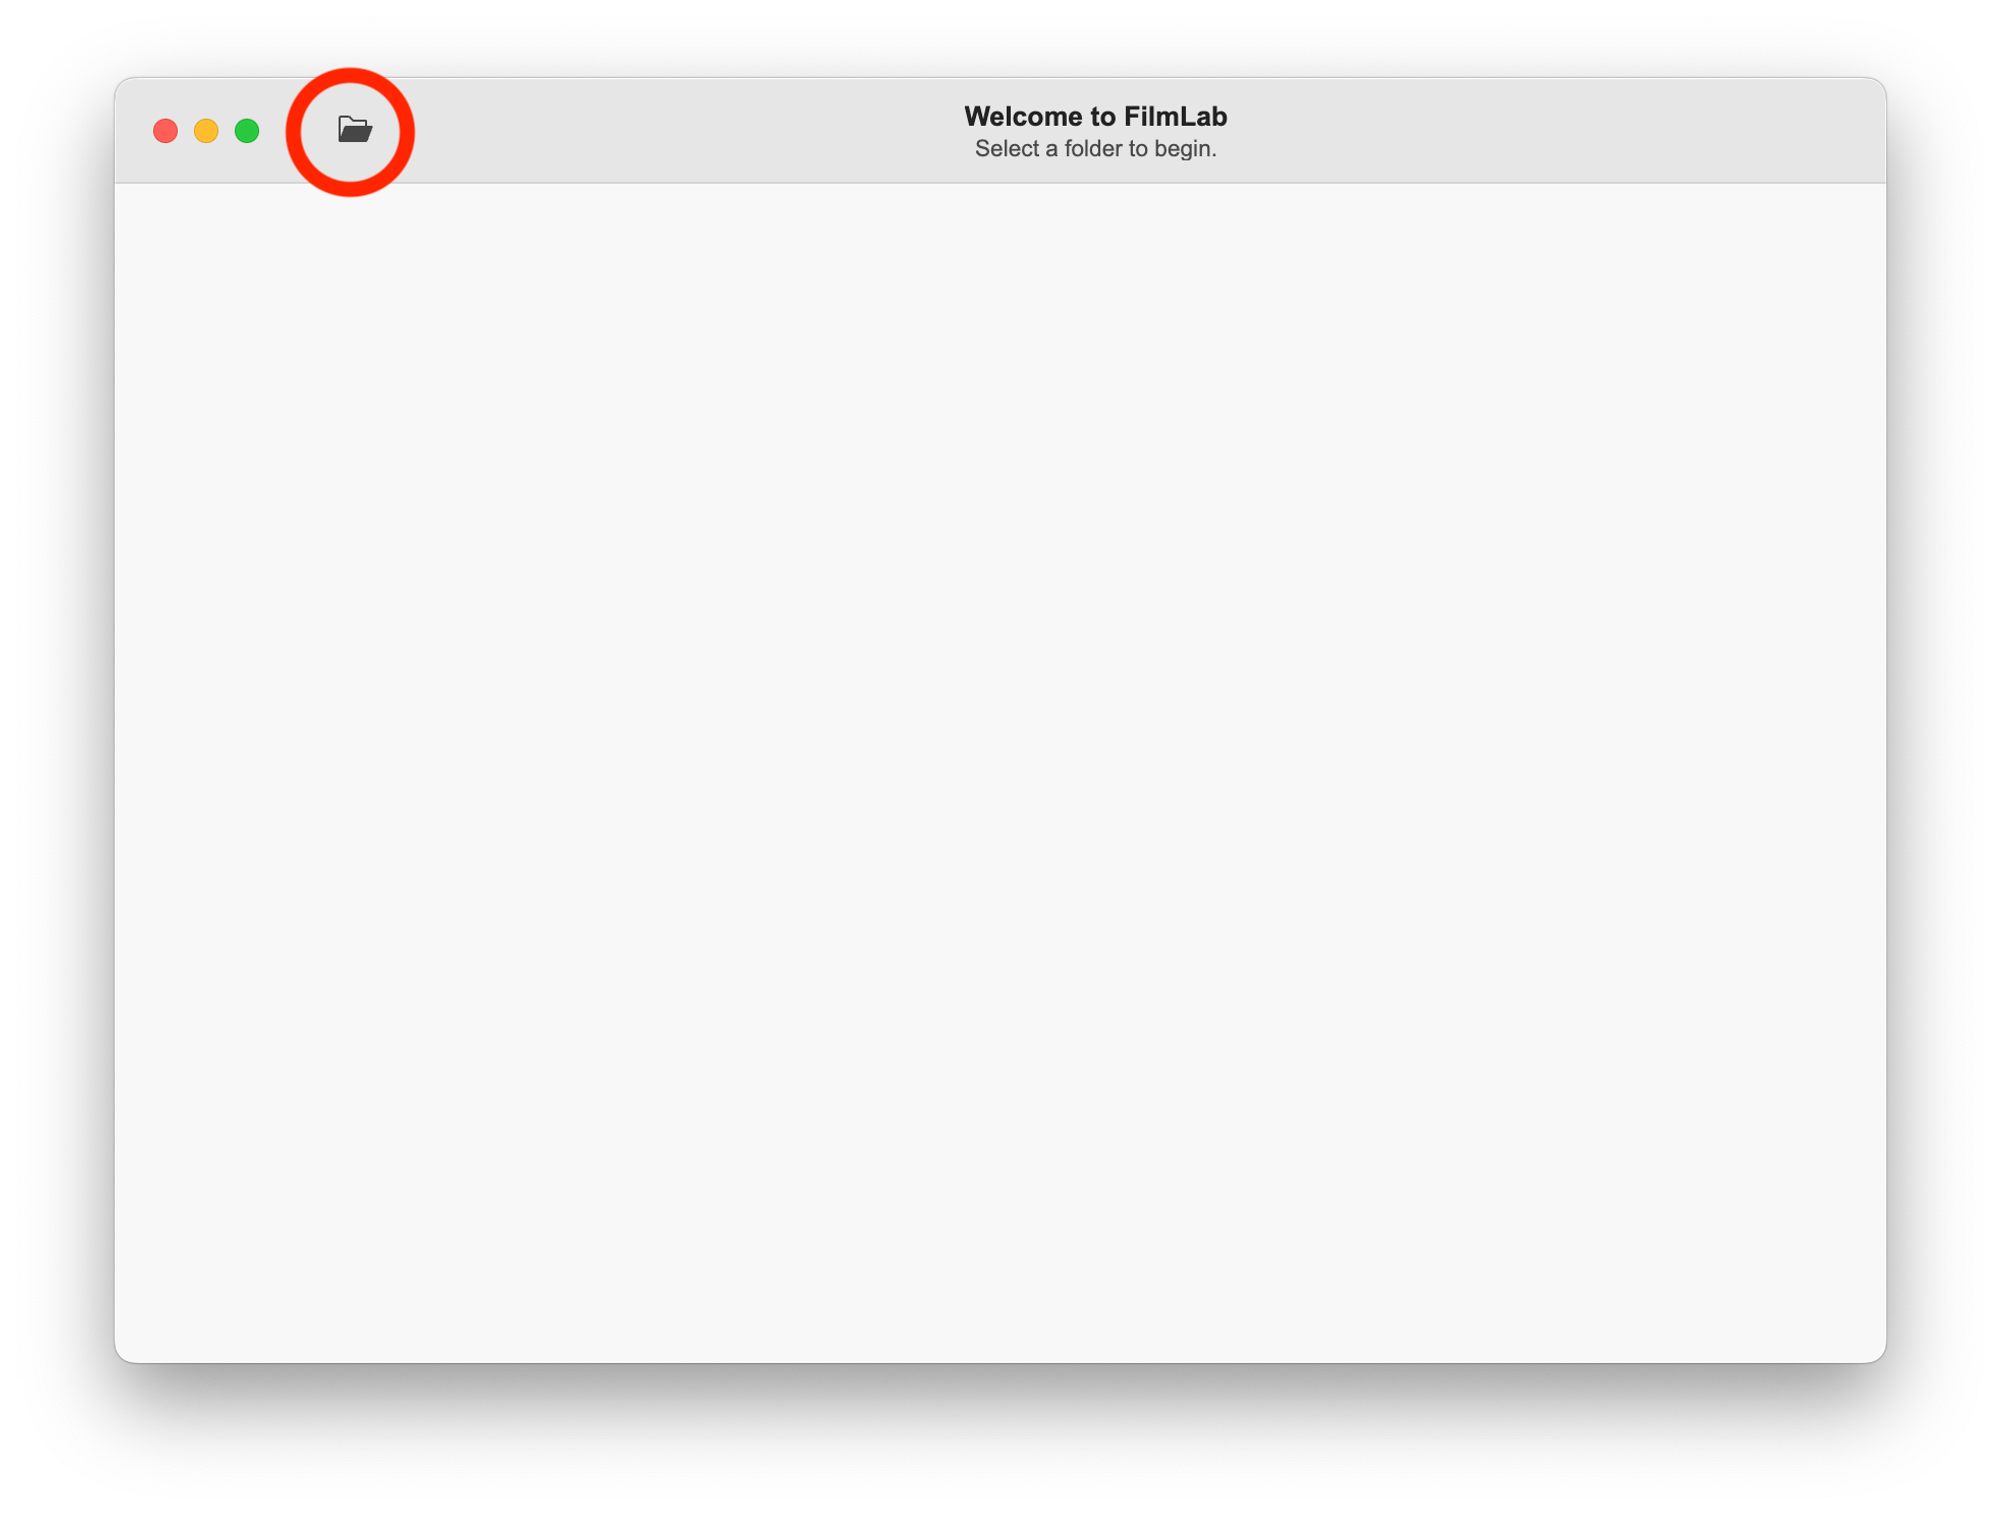
When you first open FilmLab, you’ll be looking at an empty folder view. This view lets you view all the images in a folder, make batch edits, or choose a single image or editing. To get started, click the Open Folder button in the tool bar and choose a folder containing your scanned negatives.
Once you’ve selected a folder, all the images will show up in a grid. You can select a single image by clicking it or by navigating with the arrow keys. To select all images, use the menu option
Edit → Select All , or the keyboard shortcut Ctrl (Windows) / Cmd(Mac)+A. To select a set of specific images, click them while holding Ctrl (Windows) or Cmd (Mac). To select all images between a starting and ending point, select the first image, hold the Shift key, and then select the last image using the mouse or arrow keys.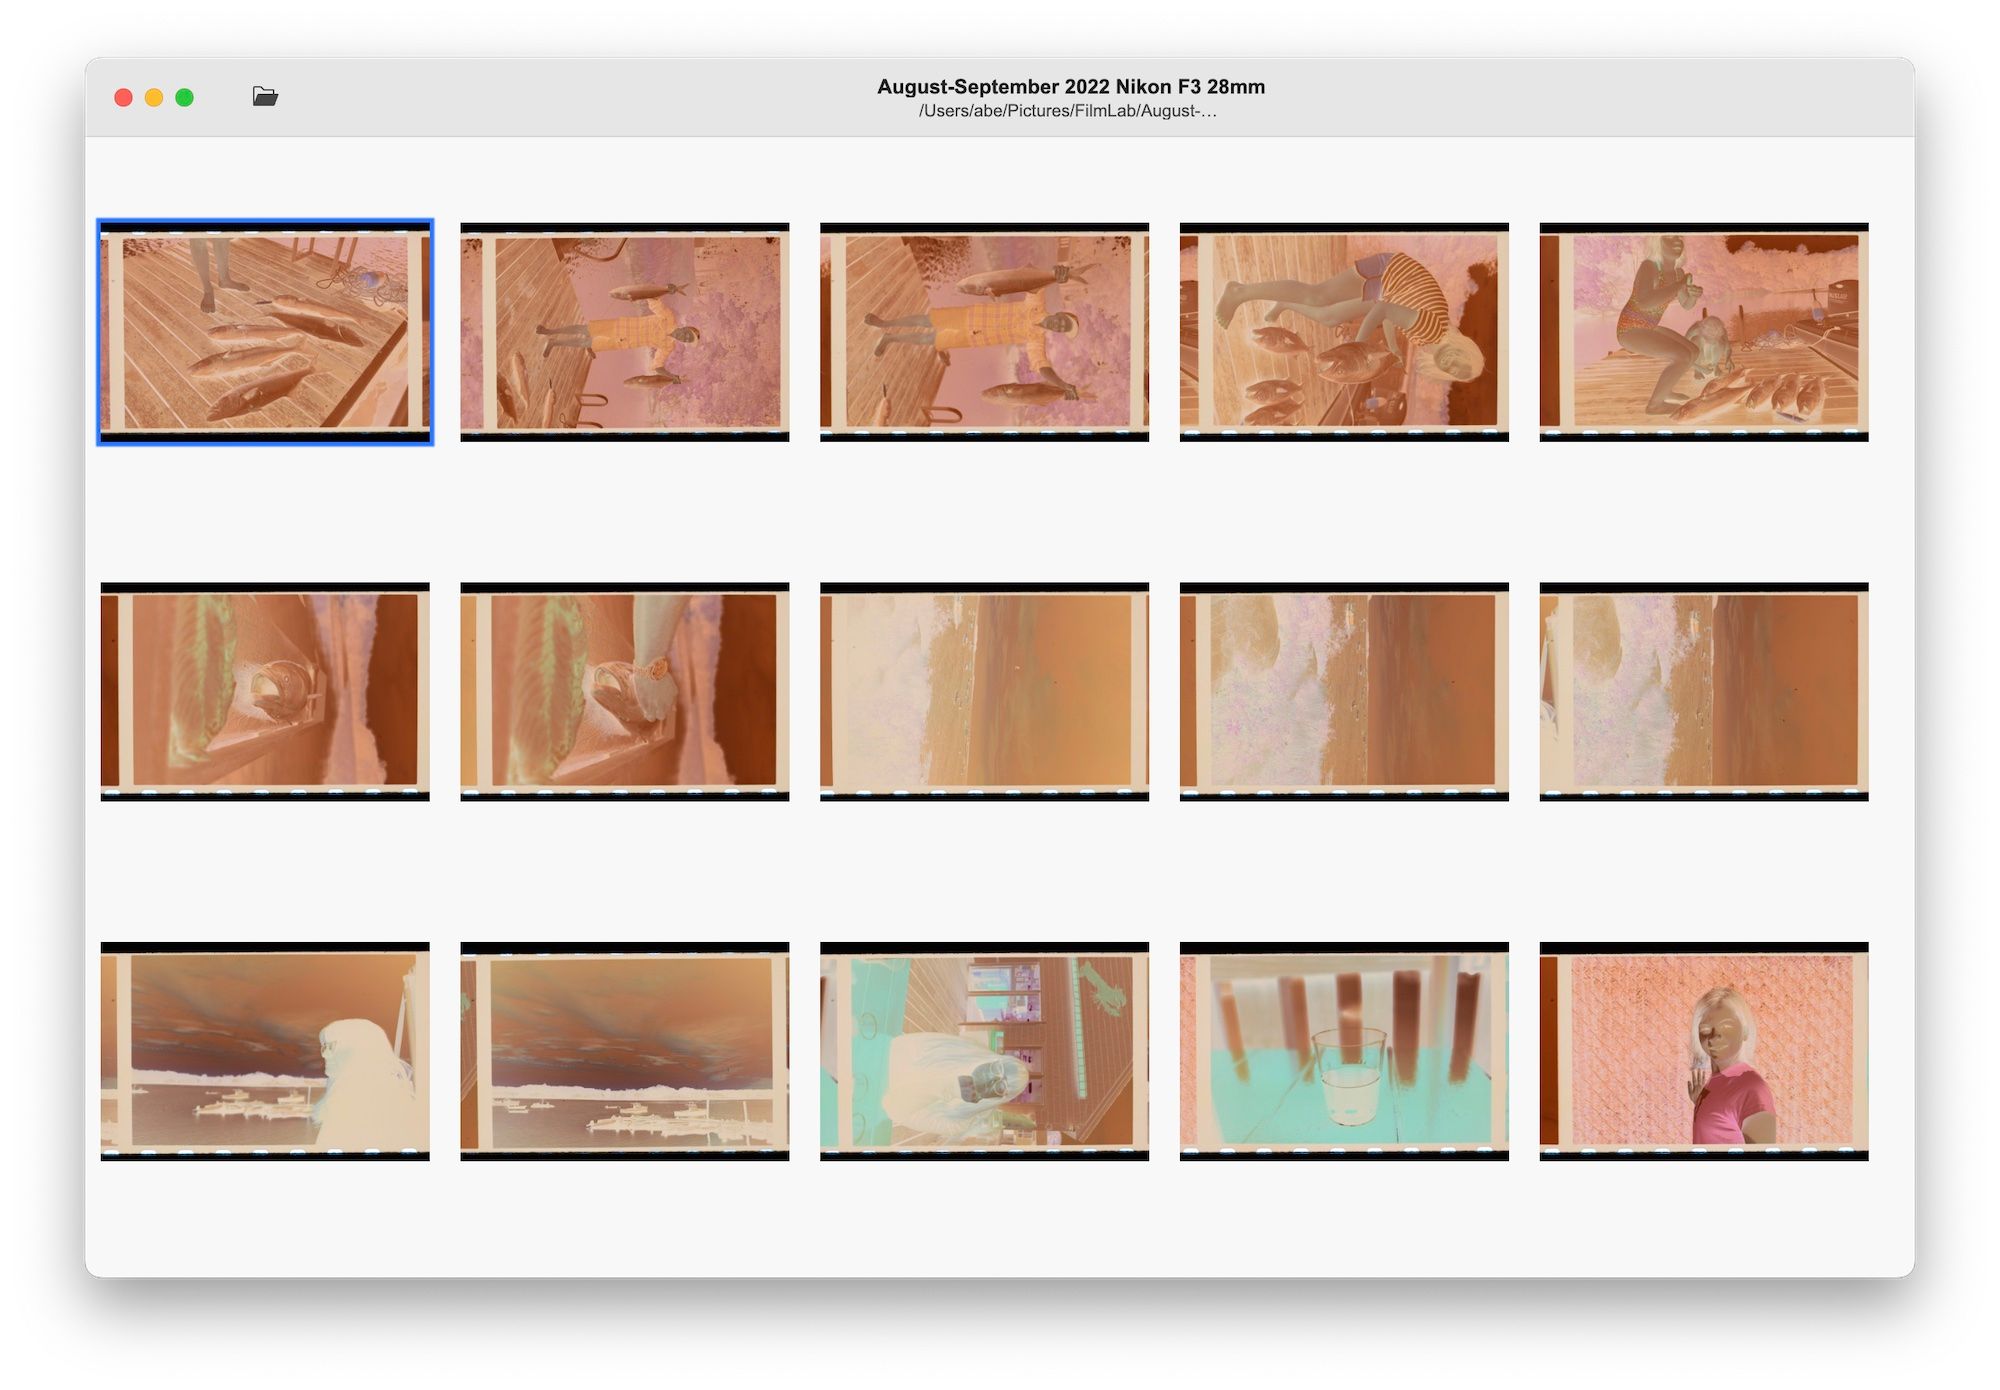
To open an image for editing, double-click it, or tap the
Space key. (See The Editor View below for details on using the image editor.)Batch Editing using Menus
Once you’ve selected a set of images, you can make edits to them as a batch. The first way to do this is by using menu commands, either from the
Image menu or by right-clicking on one of the selected images.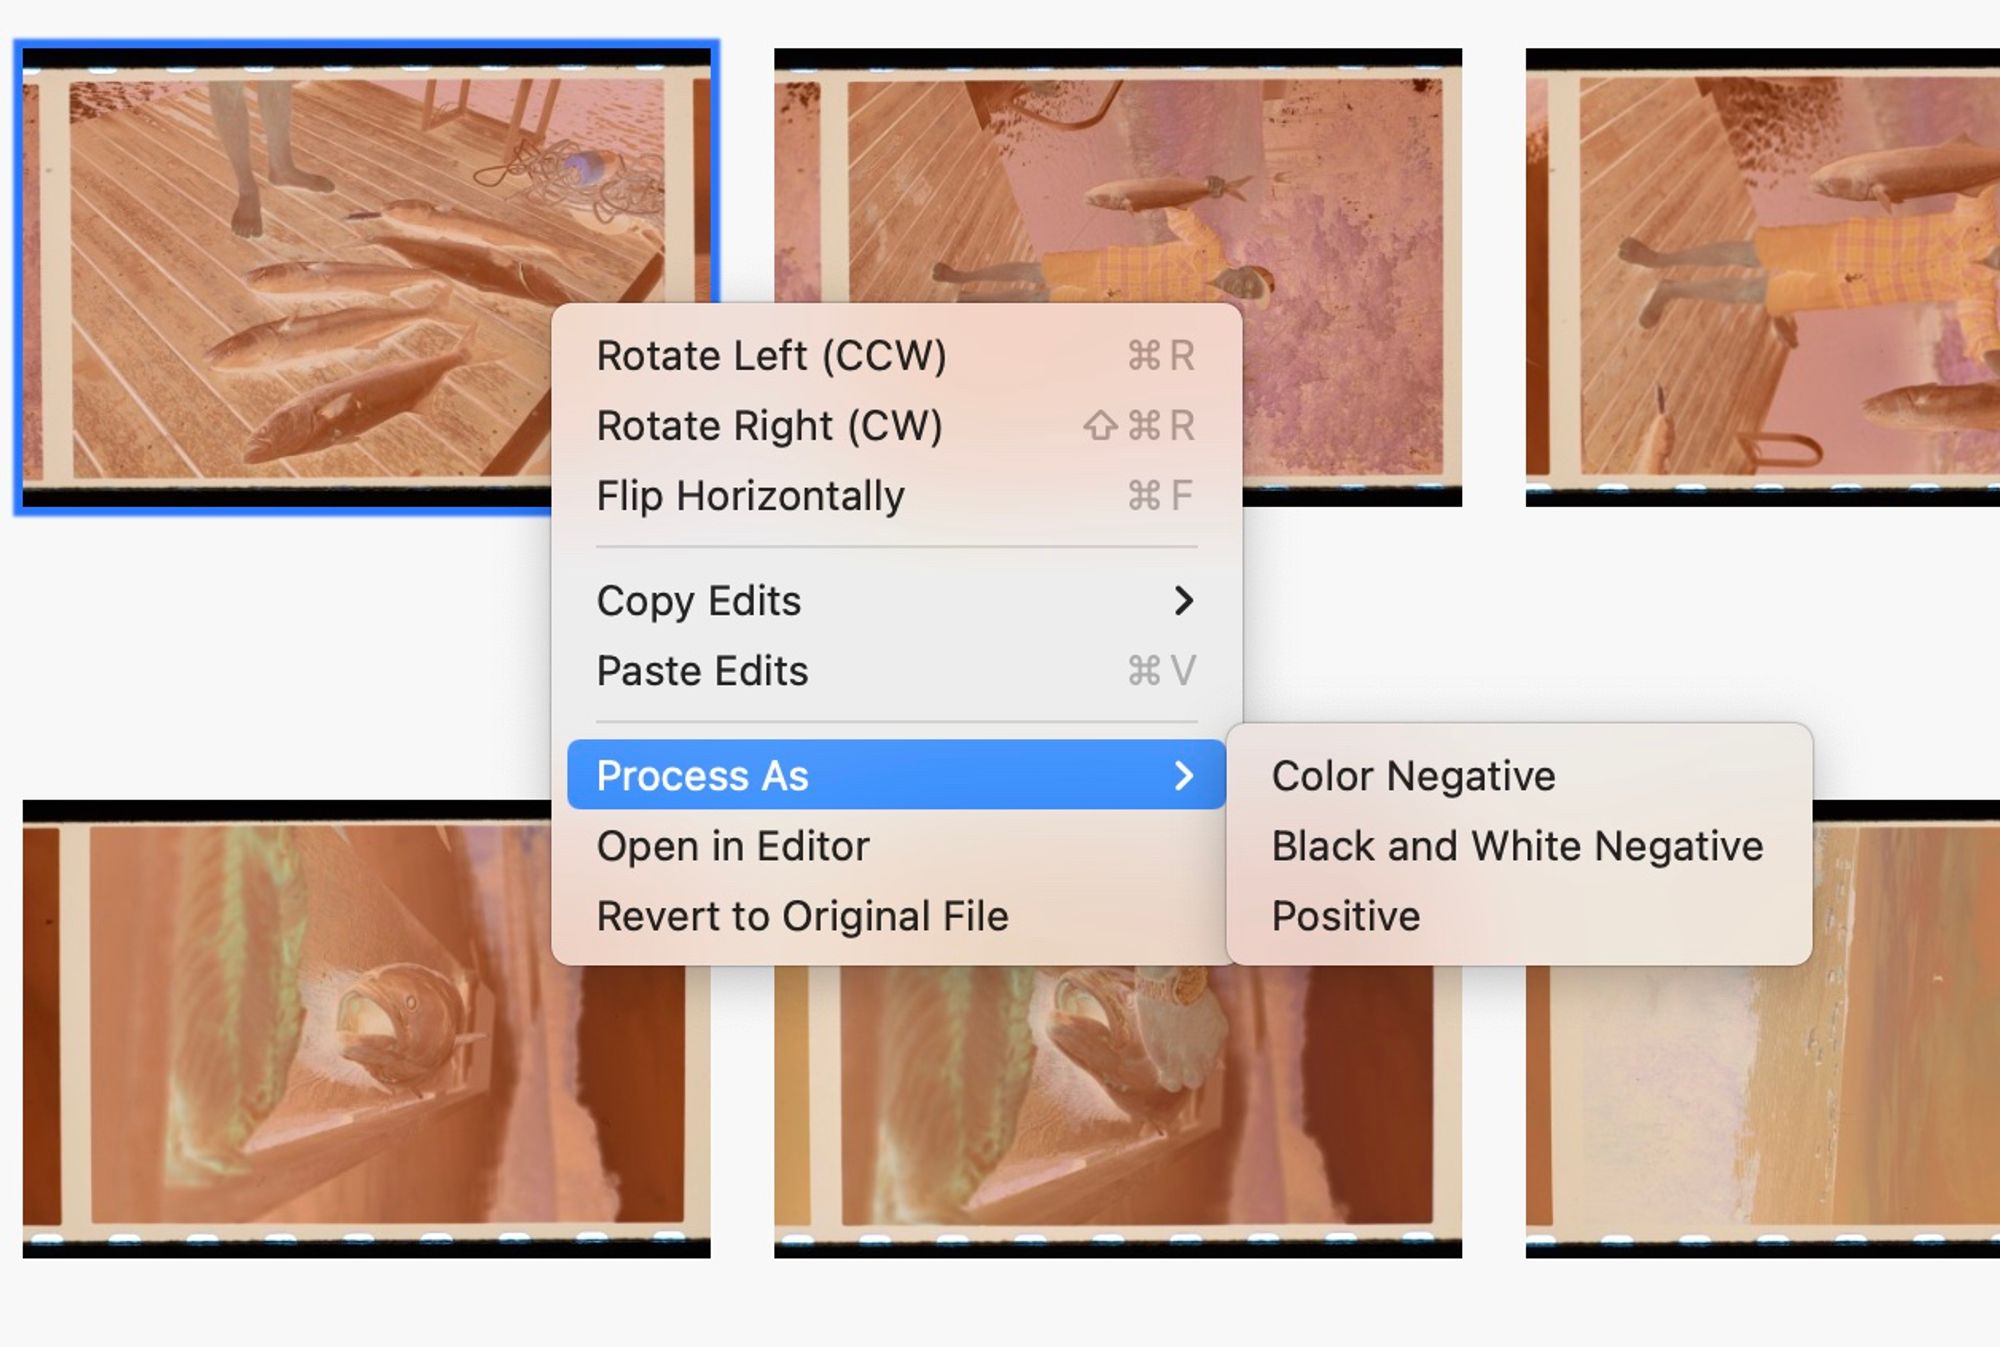
The first thing you’ll probably want to do is select how to process each image. For negative scans, choose
Process As →Color Negative or Process As → Black and White Negative.Depending on which side of your film was facing up when you scanned it, you may notice that all your scans are flipped backwards, as if reflected in a mirror. To fix this, select all images and use then choose
Flip Horizontally .To correct the orientation of images, use
the Rotate Left (CCW) or Rotate Right (CW) menu options (CCW and CW stand for clockwise and counterclockwise).If at any time you want to start editing from scratch, select
Revert to Original File. This will discard all edits and remove the associated .frpc file (see the section below “Non-Destructive Editing and FRPC Files”).Batch Editing by Copying Settings
Once you’ve edited one image in a folder, you can get a head start on editing the other images by copying and pasting your settings. To copy settings, choose one of the options in the
Image menu (or right click menu) under Copy Edits. You can Copy All Edits, (which is also available using the standard system keyboard shortcut Ctrl+C / Cmd+C) or copy only some of the settings. Then you can paste these settings into another image (or set of selected images) using the Paste Edits menu option (or Ctrl-V / Cmd-V keyboard shortcut).Batch Editing using Keyboard Shortcuts
One of the nice things about the FilmLab folder view is that it lets you see an entire set of film scans in context. This can help you visually pick out inconsistencies between frames and make adjustments so that all images of the same scene have the same look. You might also notice problems like an image that’s rotated sideways or that isn’t cropped quite right. Using keyboard shortcuts, you can make any needed adjustments quickly without leaving the folder view.
You can see a full list of editing operations, and their keyboard shortcuts, in the
Image menu.Main Window: The Editor View
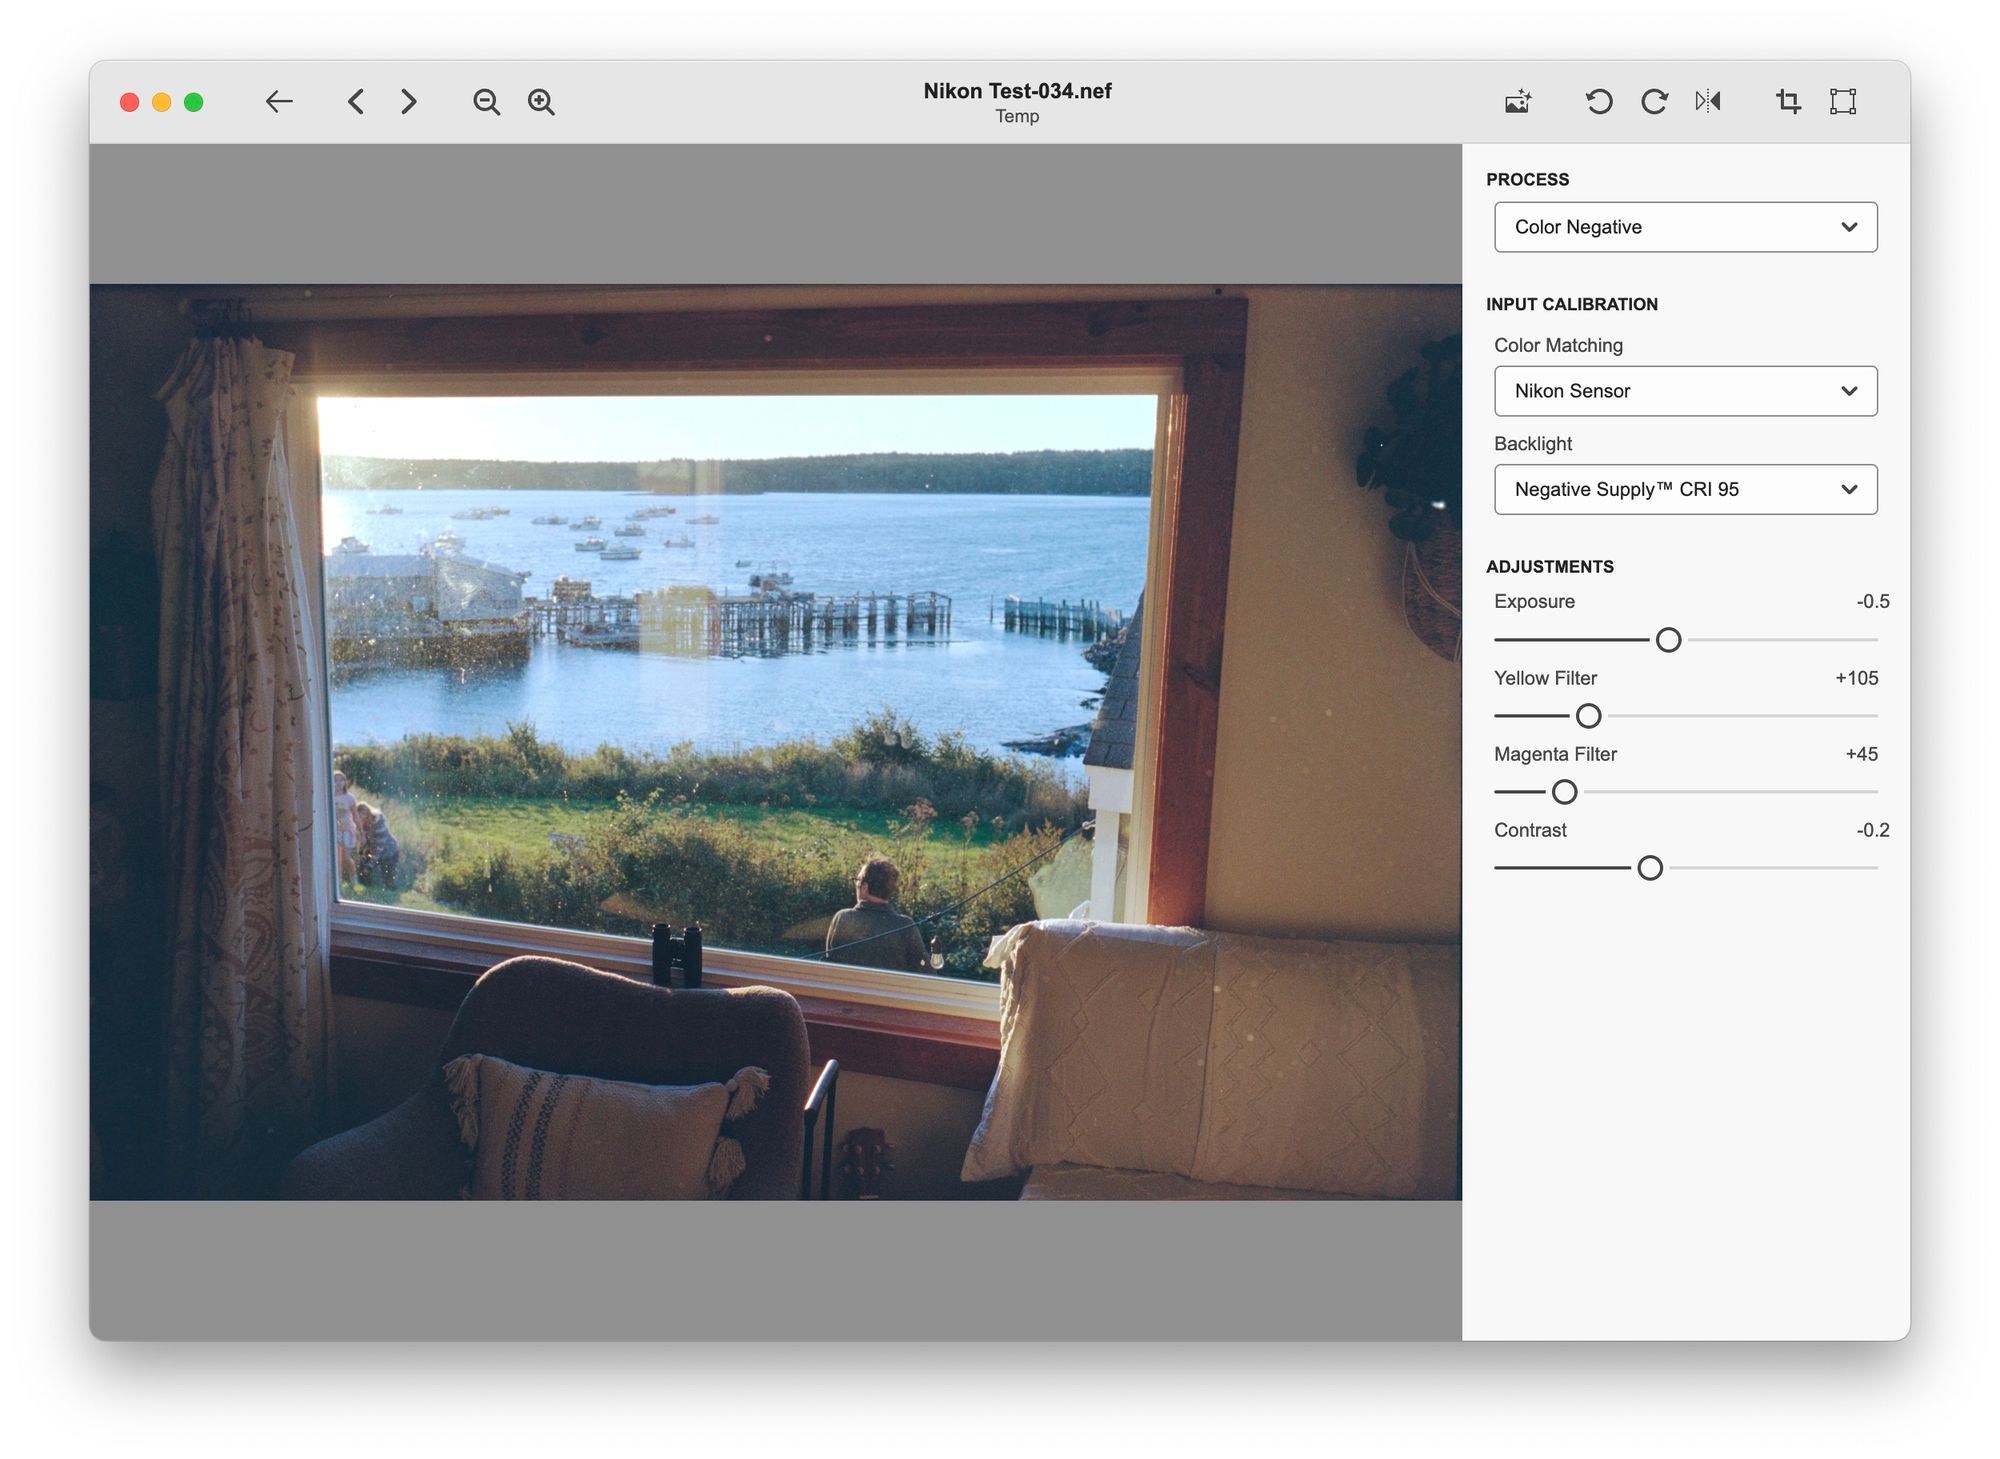
The FilmLab editor view lets you work with a single image, making fine adjustments and zooming in the check that the details look good. It’s made up of the image itself, a toolbar at the top with buttons for performing common actions, and a sidebar with controls for making adjustments.
The Editor Toolbar

In the FilmLab editor view, the toolbar has these buttons on the left side:
- Back (
Space): Takes you to the folder view so you can work with other images in the same folder
- Previous / Next (
Left Arrow/Right Arrow): Loads the previous or next image in the current folder
- Zoom In / Zoom Out (
+/-): Zooms in and out on the image
On the right side of the toolbar, you’ll find buttons for:
- Auto Settings: Resets exposure and color balance for the current image to values chosen automatically based on analyzing the image content.
- Rotate Left (CCW) / Rotate Right (CW): Rotates the image
- Flip Horizontally: Flips the content of the image horizontally
- Crop: Opens crop / rotate mode (see Crop / Rotate Mode below)
- Perspective Corners: Opens perspective corners mode: (see Perspective Corners Mode below)
- Export: Exports an output image (see Exporting Images below)
Crop / Rotate Mode
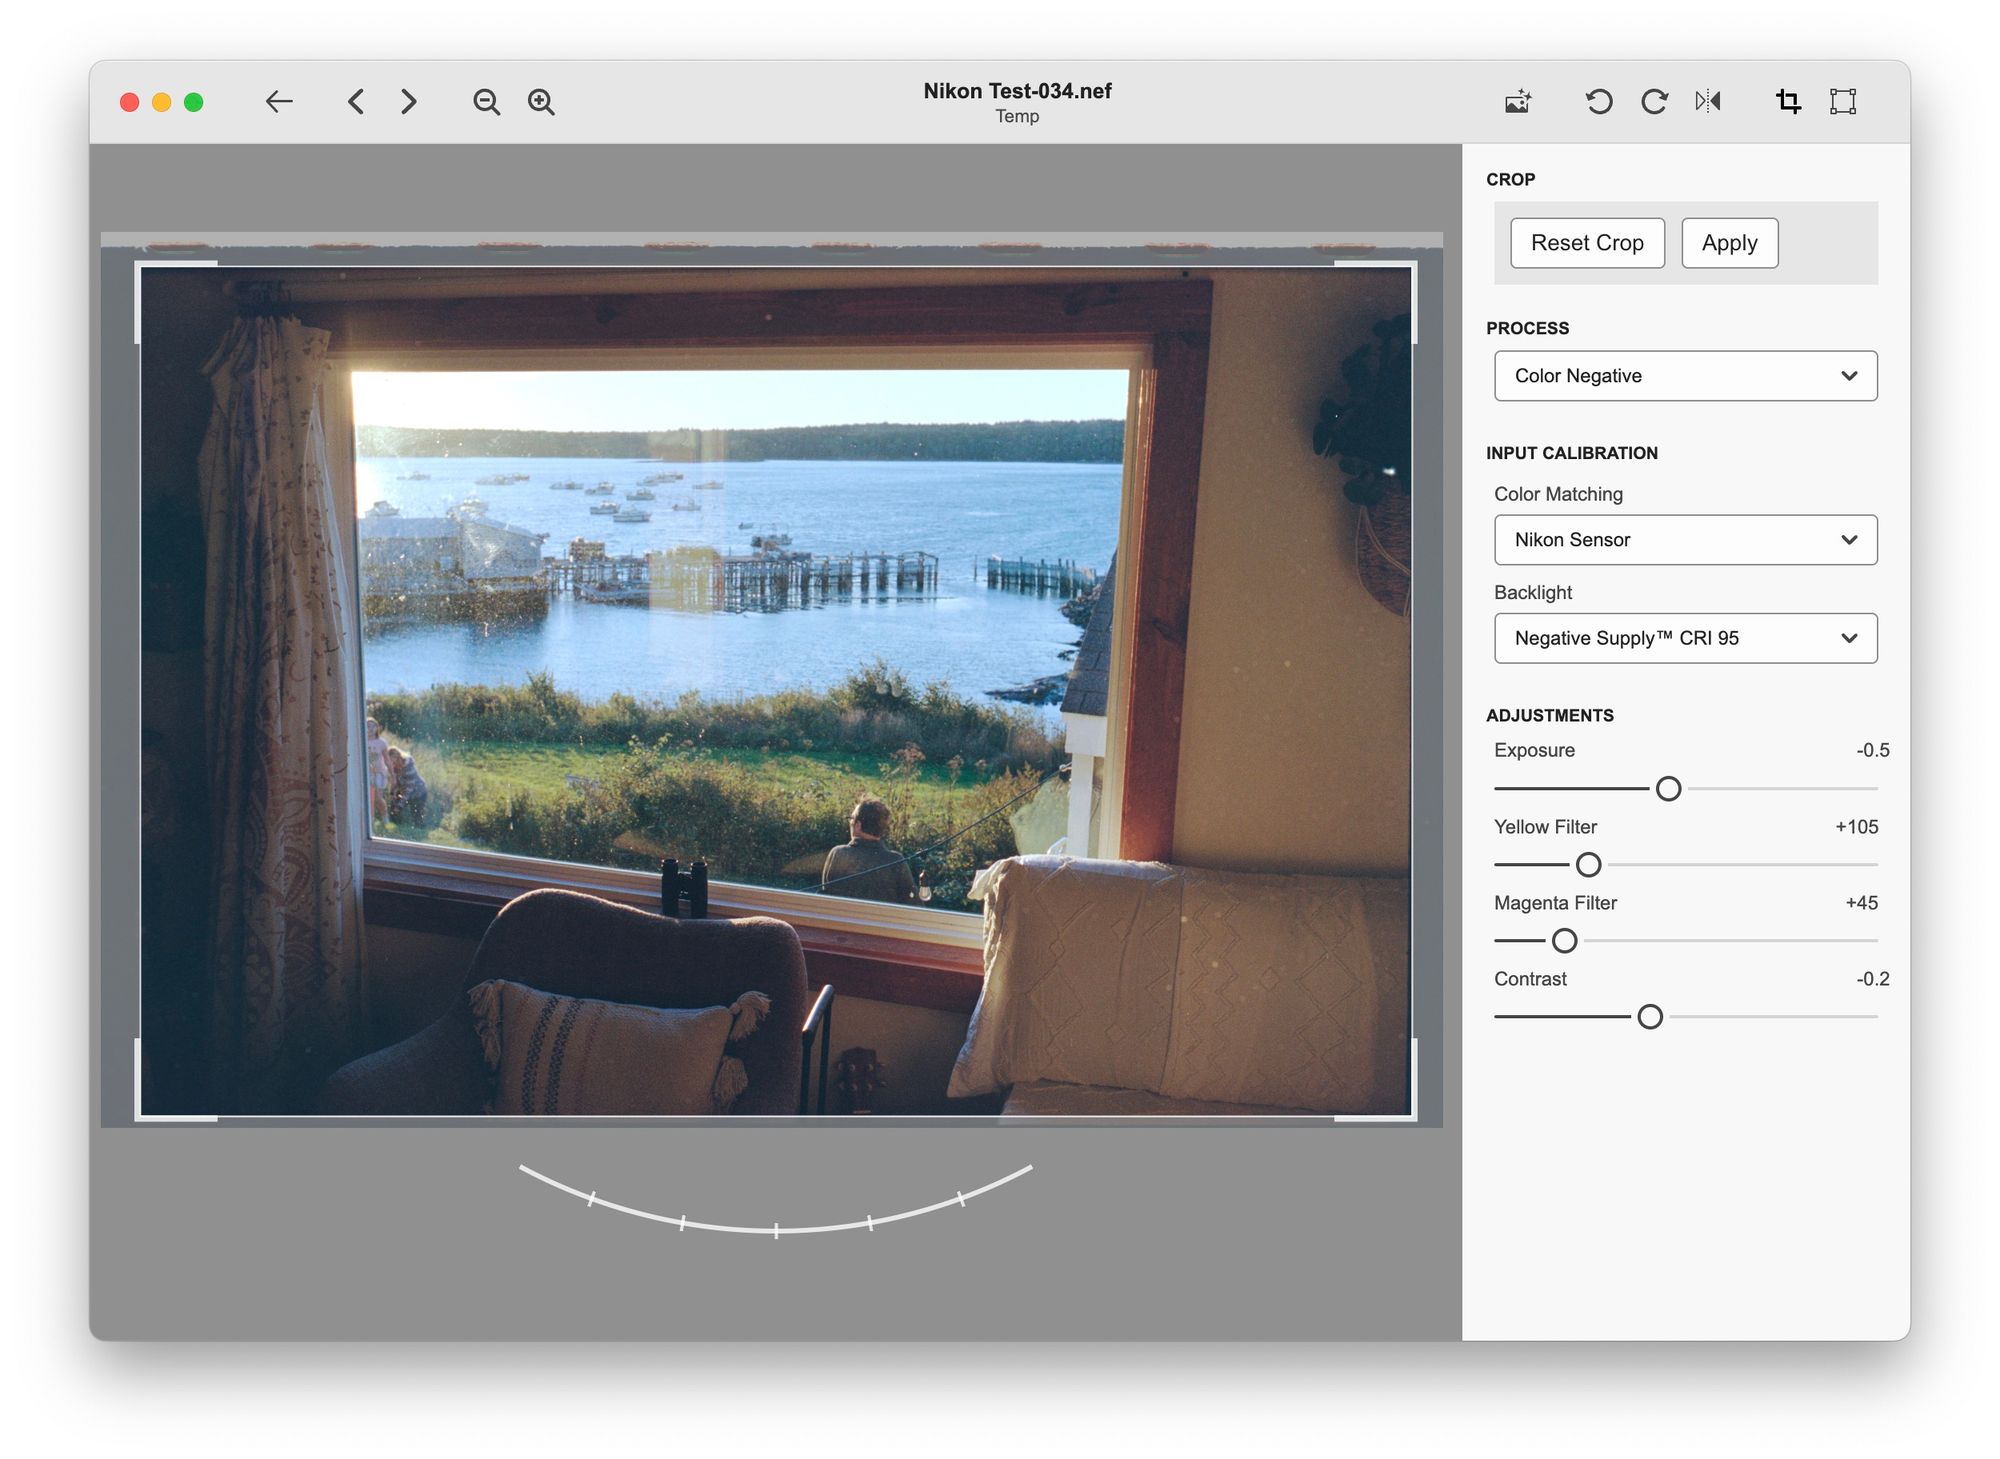
Crop / Rotate mode lets you crop out the parts of your image you don’t want included in the final frame. You can also correct a misaligned image by rotating it by grabbing the round handle and moving from side to side. When you’ve finished, press the Apply button in the sidebar, or hit the
Enter key.Perspective Corners Mode
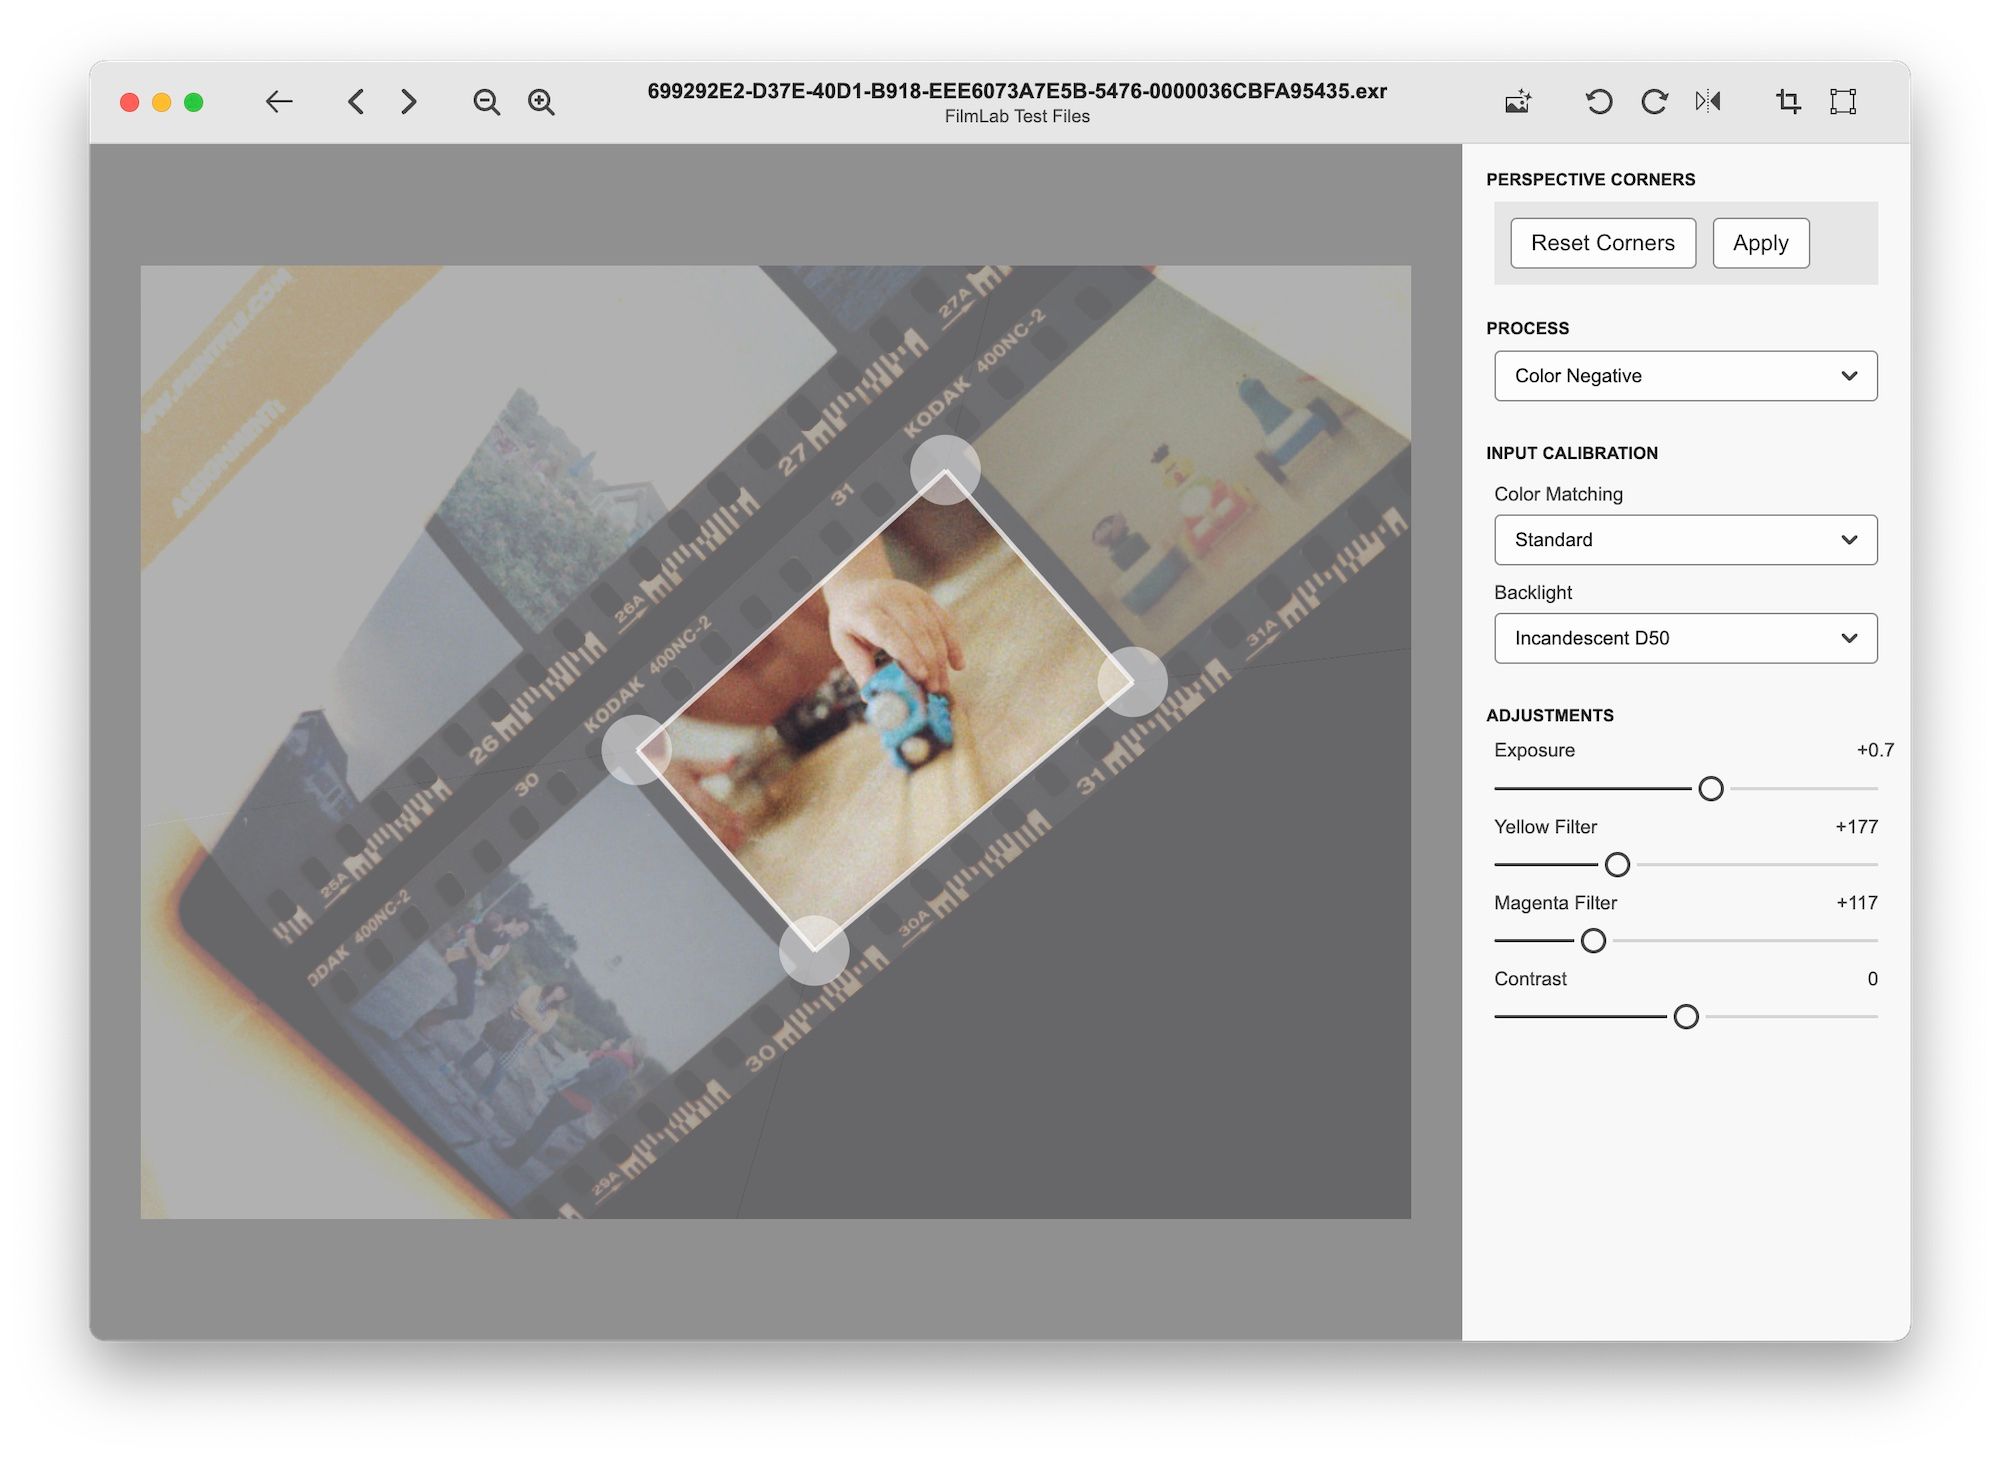
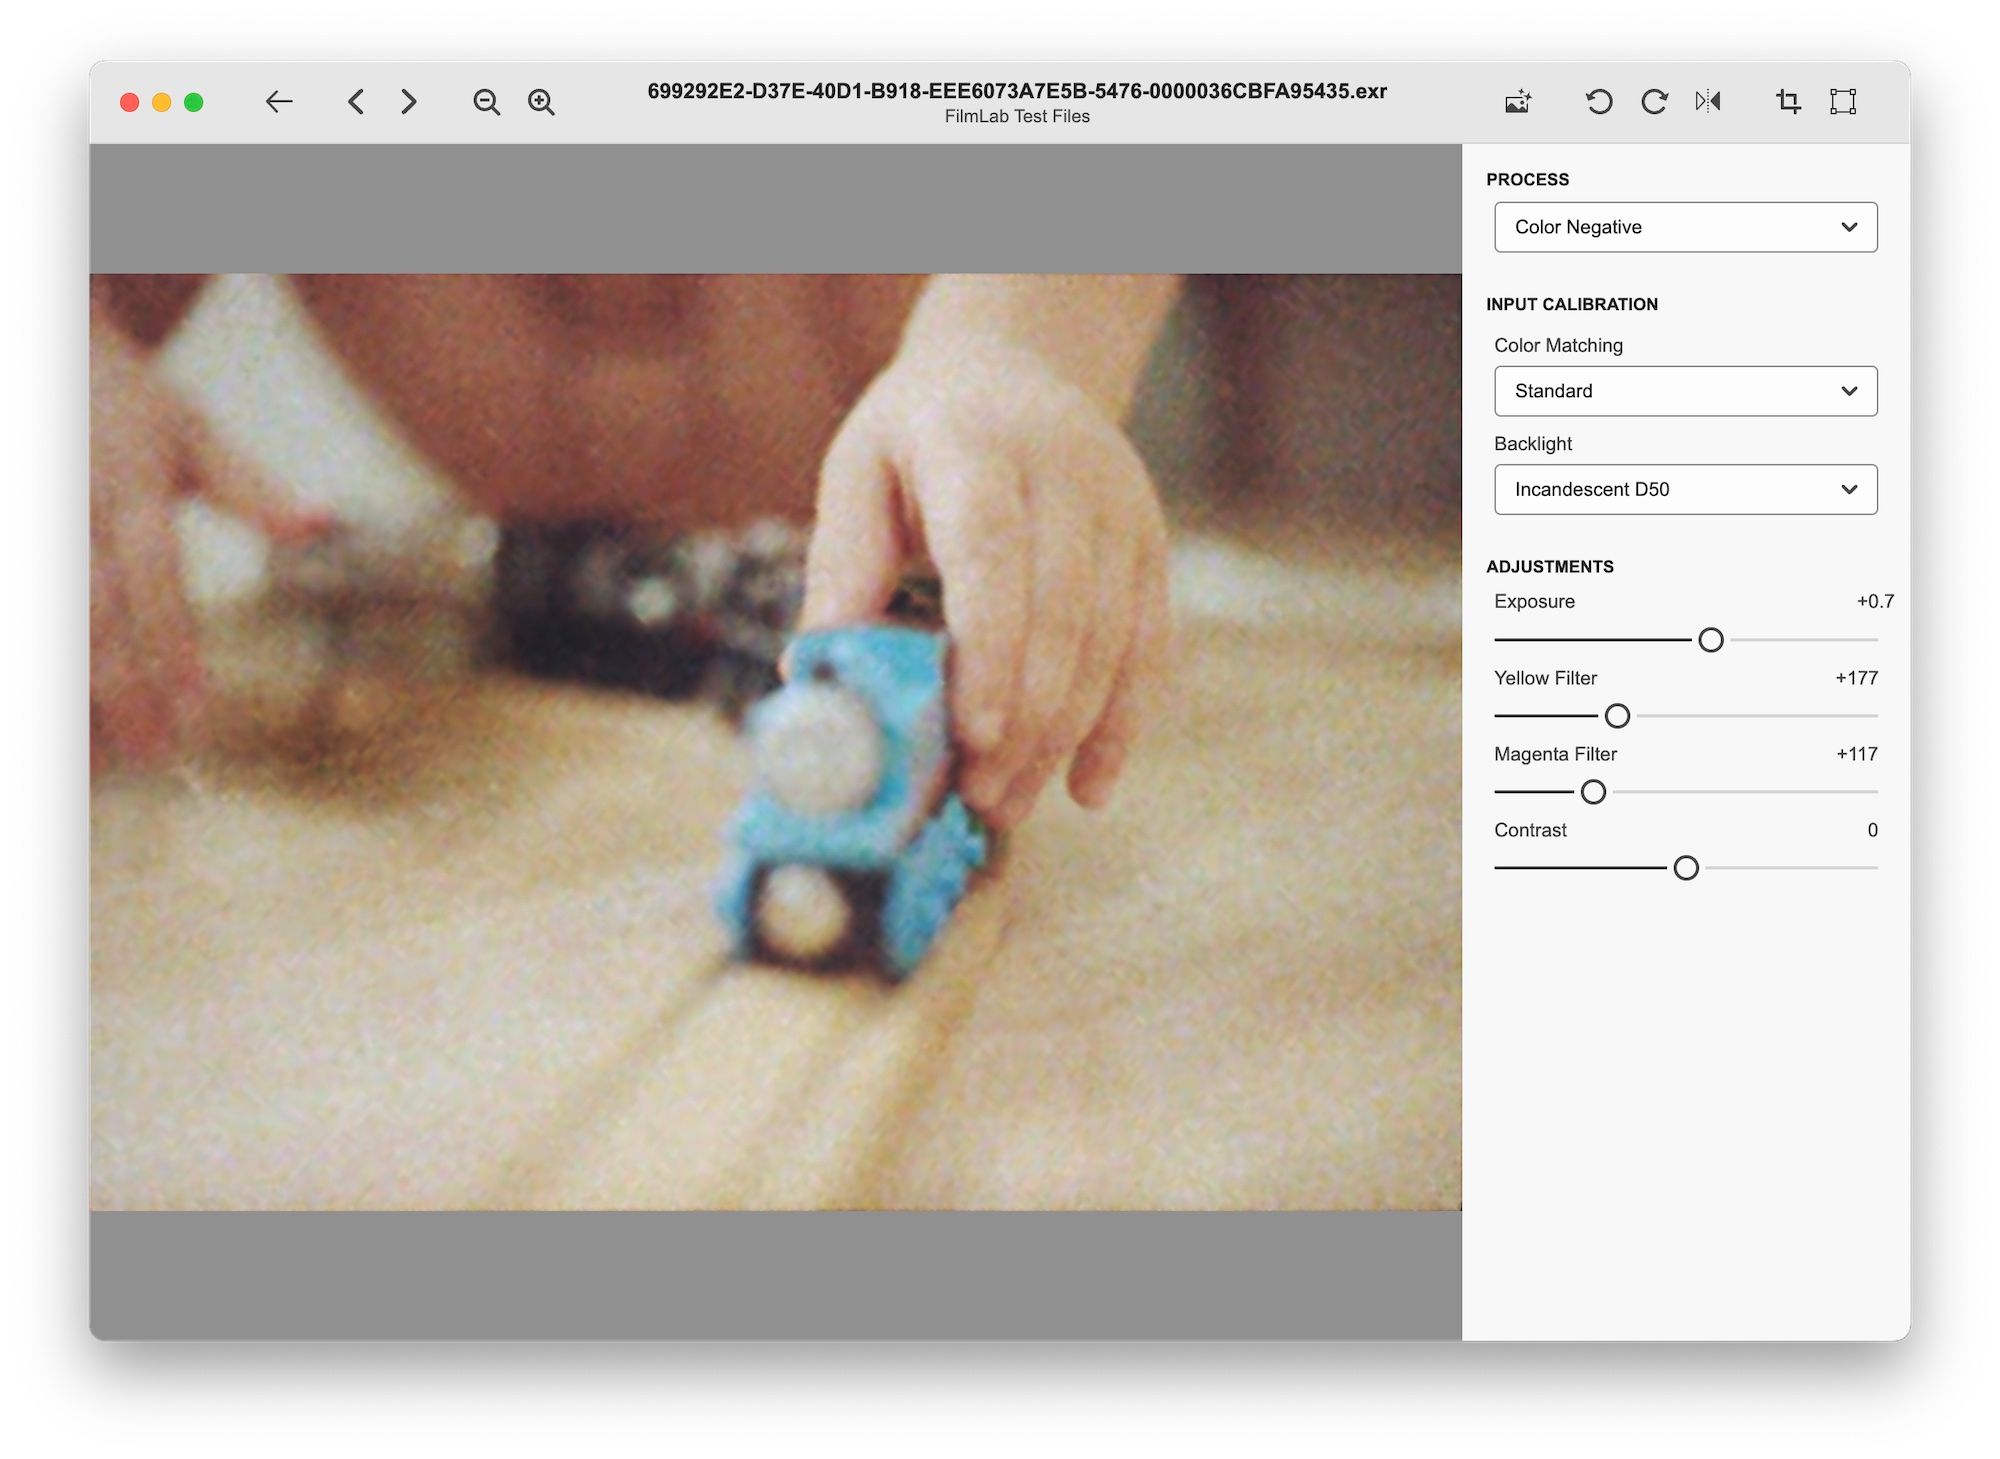
Sometimes you may want to work with a scan that was captured at an angle. Perhaps the scan came from a phone that or camera that was being held freehand, so it wasn’t perfectly square with the negative. In that case, you may need to correct the perspective of the image in order to get square corners. That’s where the Perspective Corners comes in. Drag the four corners until the align with the corners of your film frame. Then click the Apply button, or press the
Enter key, to crop and The Perspective Corners tool corrects perspective and crops in one step. After you’ve used this tool once to correct perspective, you can use the regular crop tool to make adjustments to the crop.
The Editor Sidebar
Like many image editing apps, the FilmLab editor has a sidebar that gives you a menu of options for editing the current image. The sidebar is made up of three sections:
Process. Select whether you want the image file to be processed as a positive, color negative, or black and white negative. For best results, choose the process that matches the media you scanned.
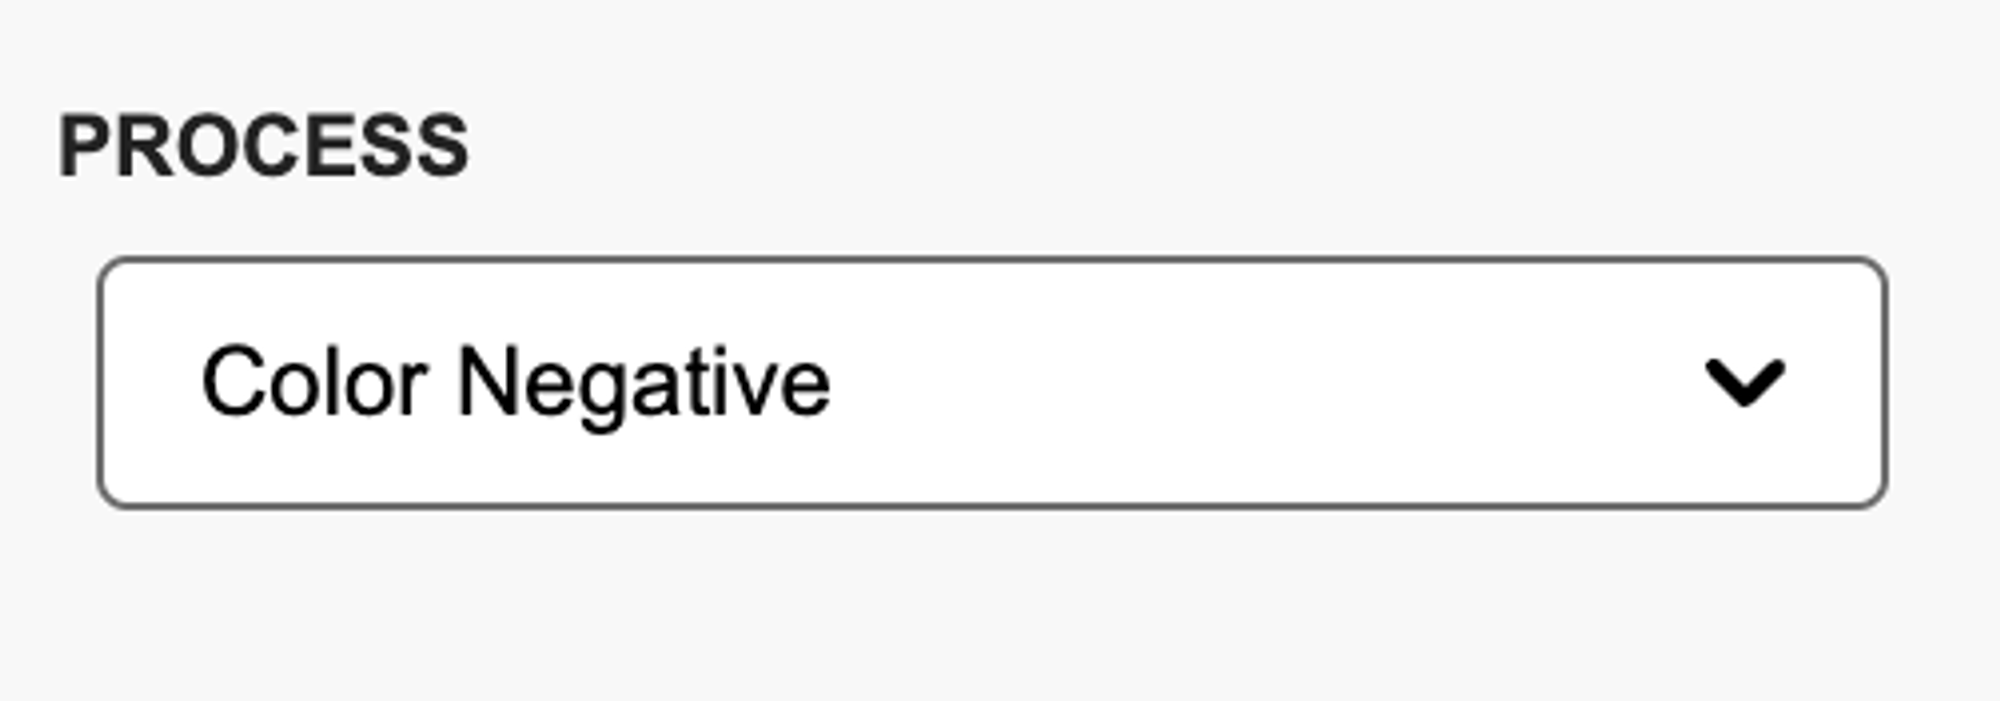
You can process a color negative as black and white negative to get a monochrome image, or a black and white negative as a color negative to get a tinted image. If you do this, keep in mind that black and white film has more built-in contrast than color film. So a black and white image processed as color will tend to have too much contrast, and a color image processed as black and white will tend to have too little contrast. You can compensate for this by adjusting the contrast slider.
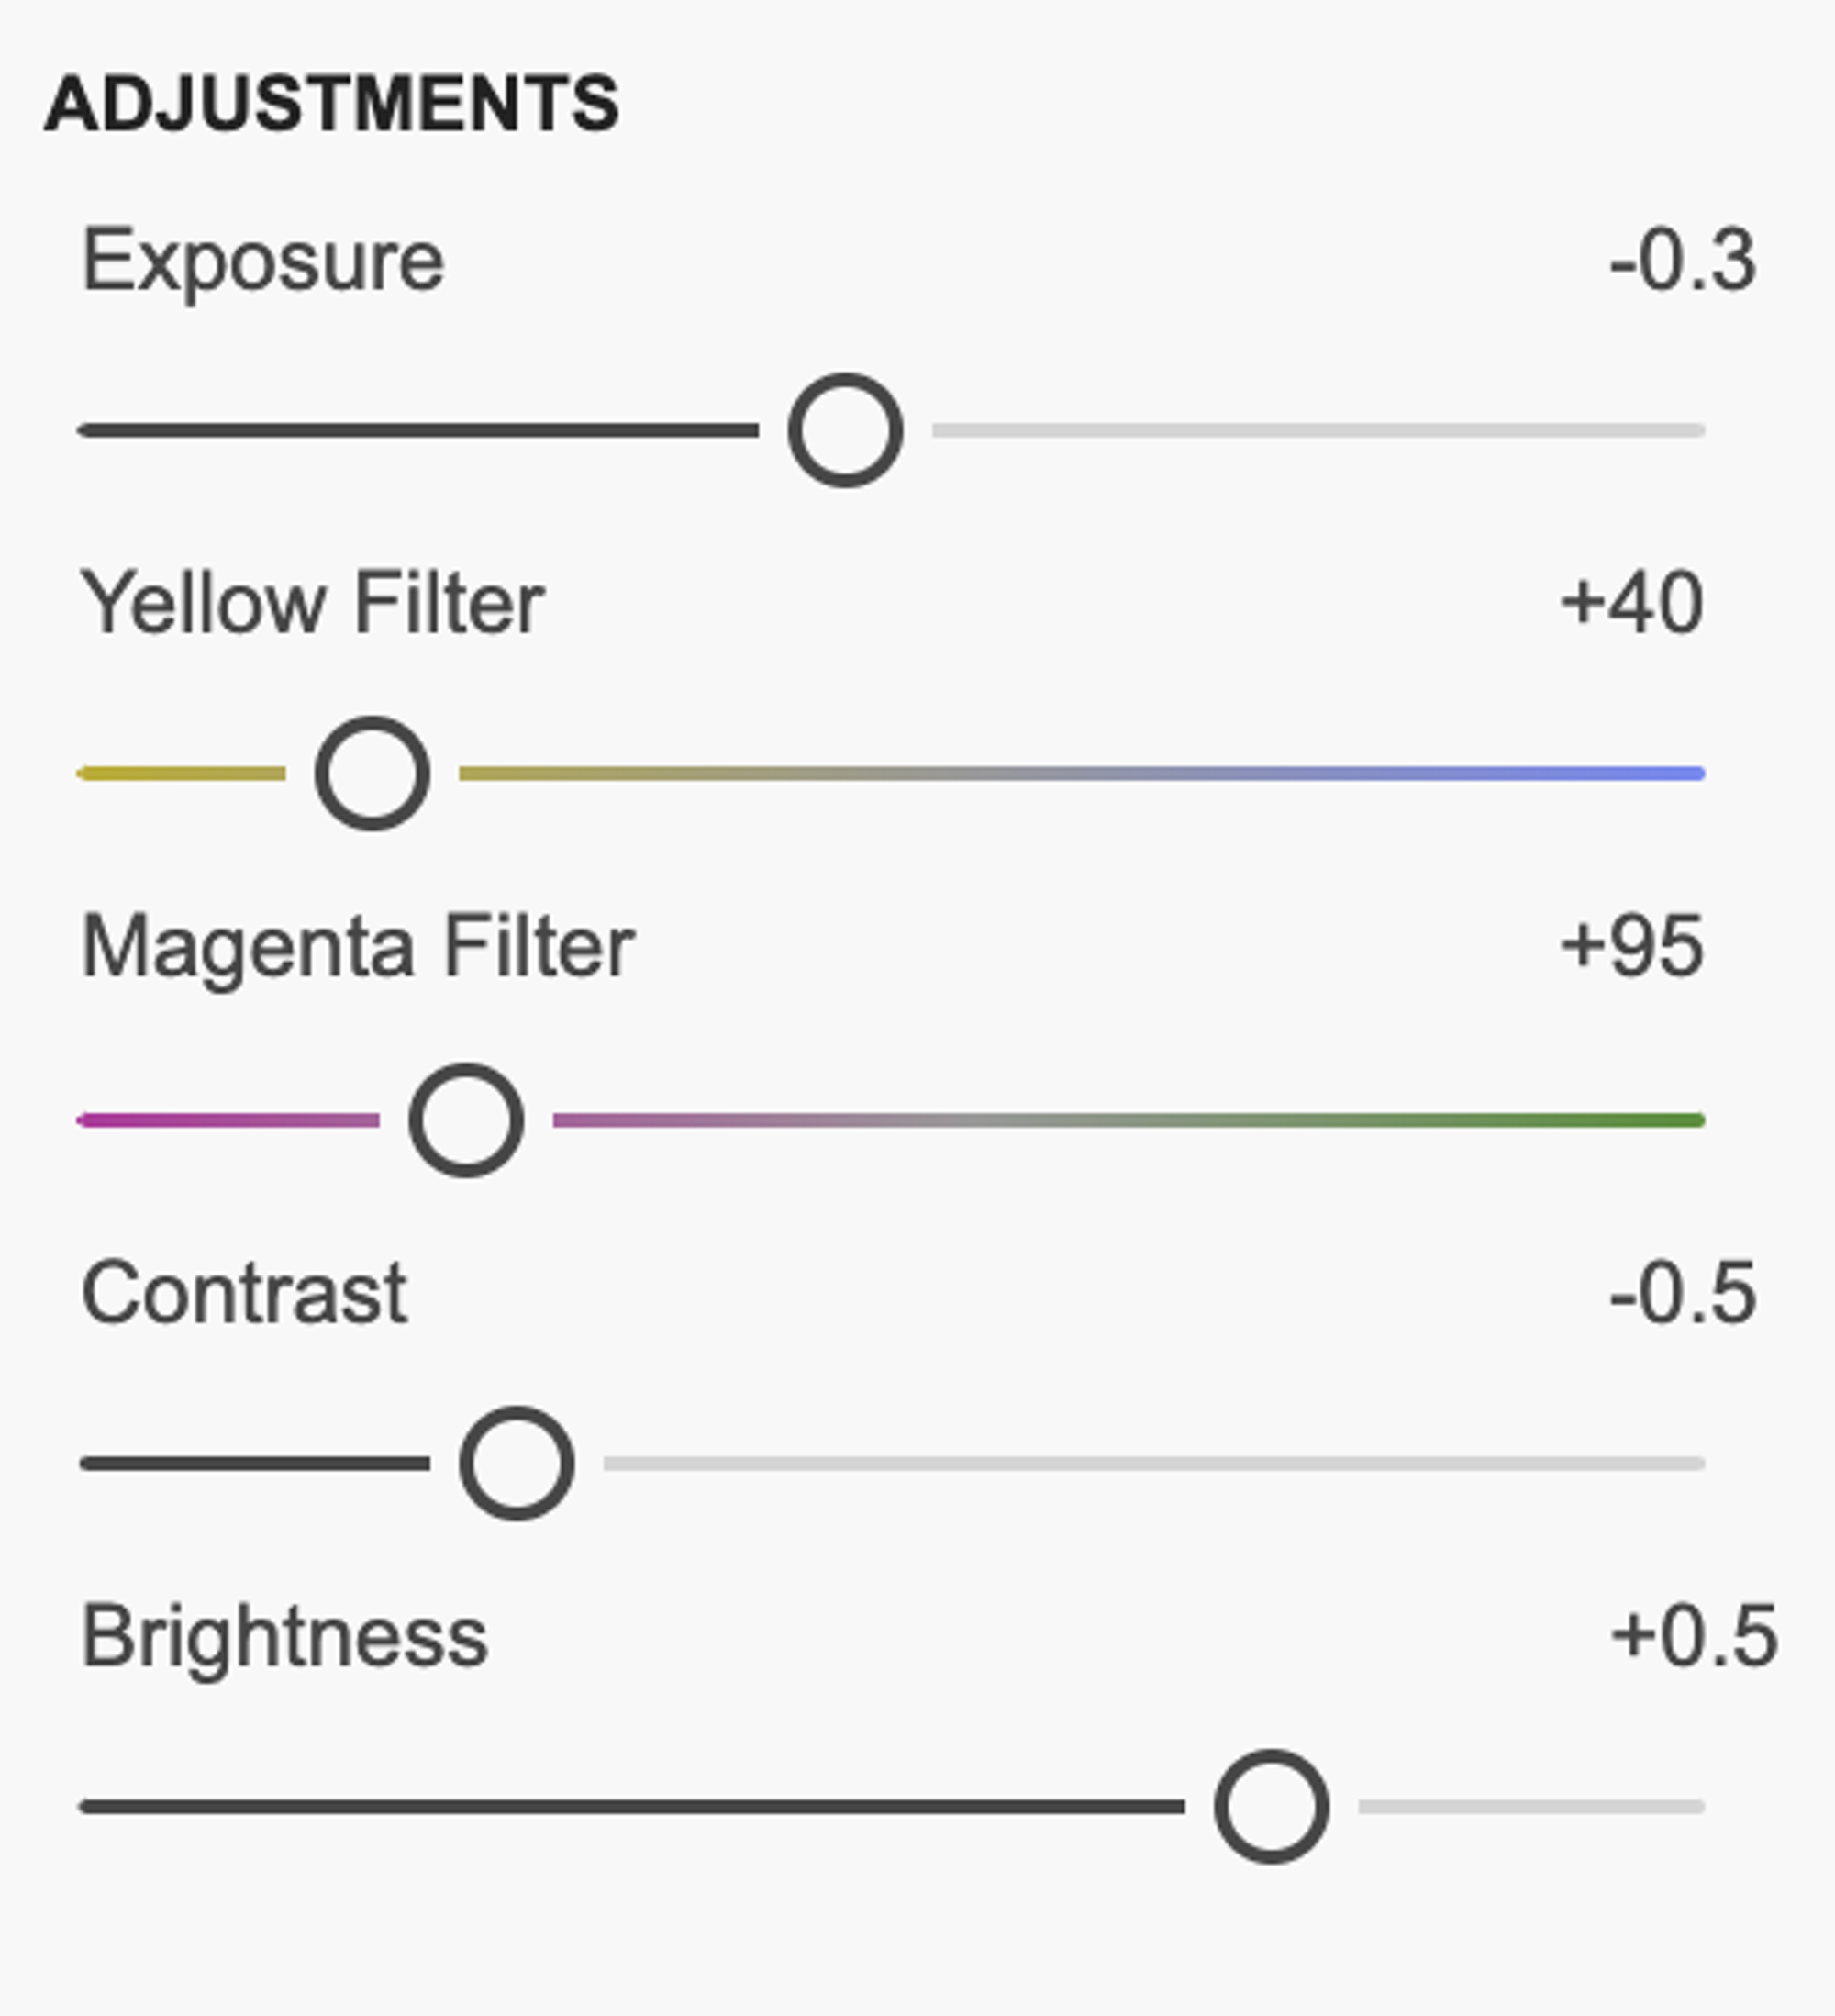
Adjustments. Here you’ll see a set of sliders that let you make adjustments to exposure, color balance, contrast, and brightness. The available settings change based on the process you’ve selected above.
It’s worth taking the time to fine tune your images using these sliders. FilmLab’s automatic settings are a good starting point, but you know more than the software does about what’s happening in each photo and how the colors and lighting are supposed to look.
If you’re made manual adjustments but decide you want to reset back to FilmLab’s automatic settings, press the Auto Settings button in the toolbar.
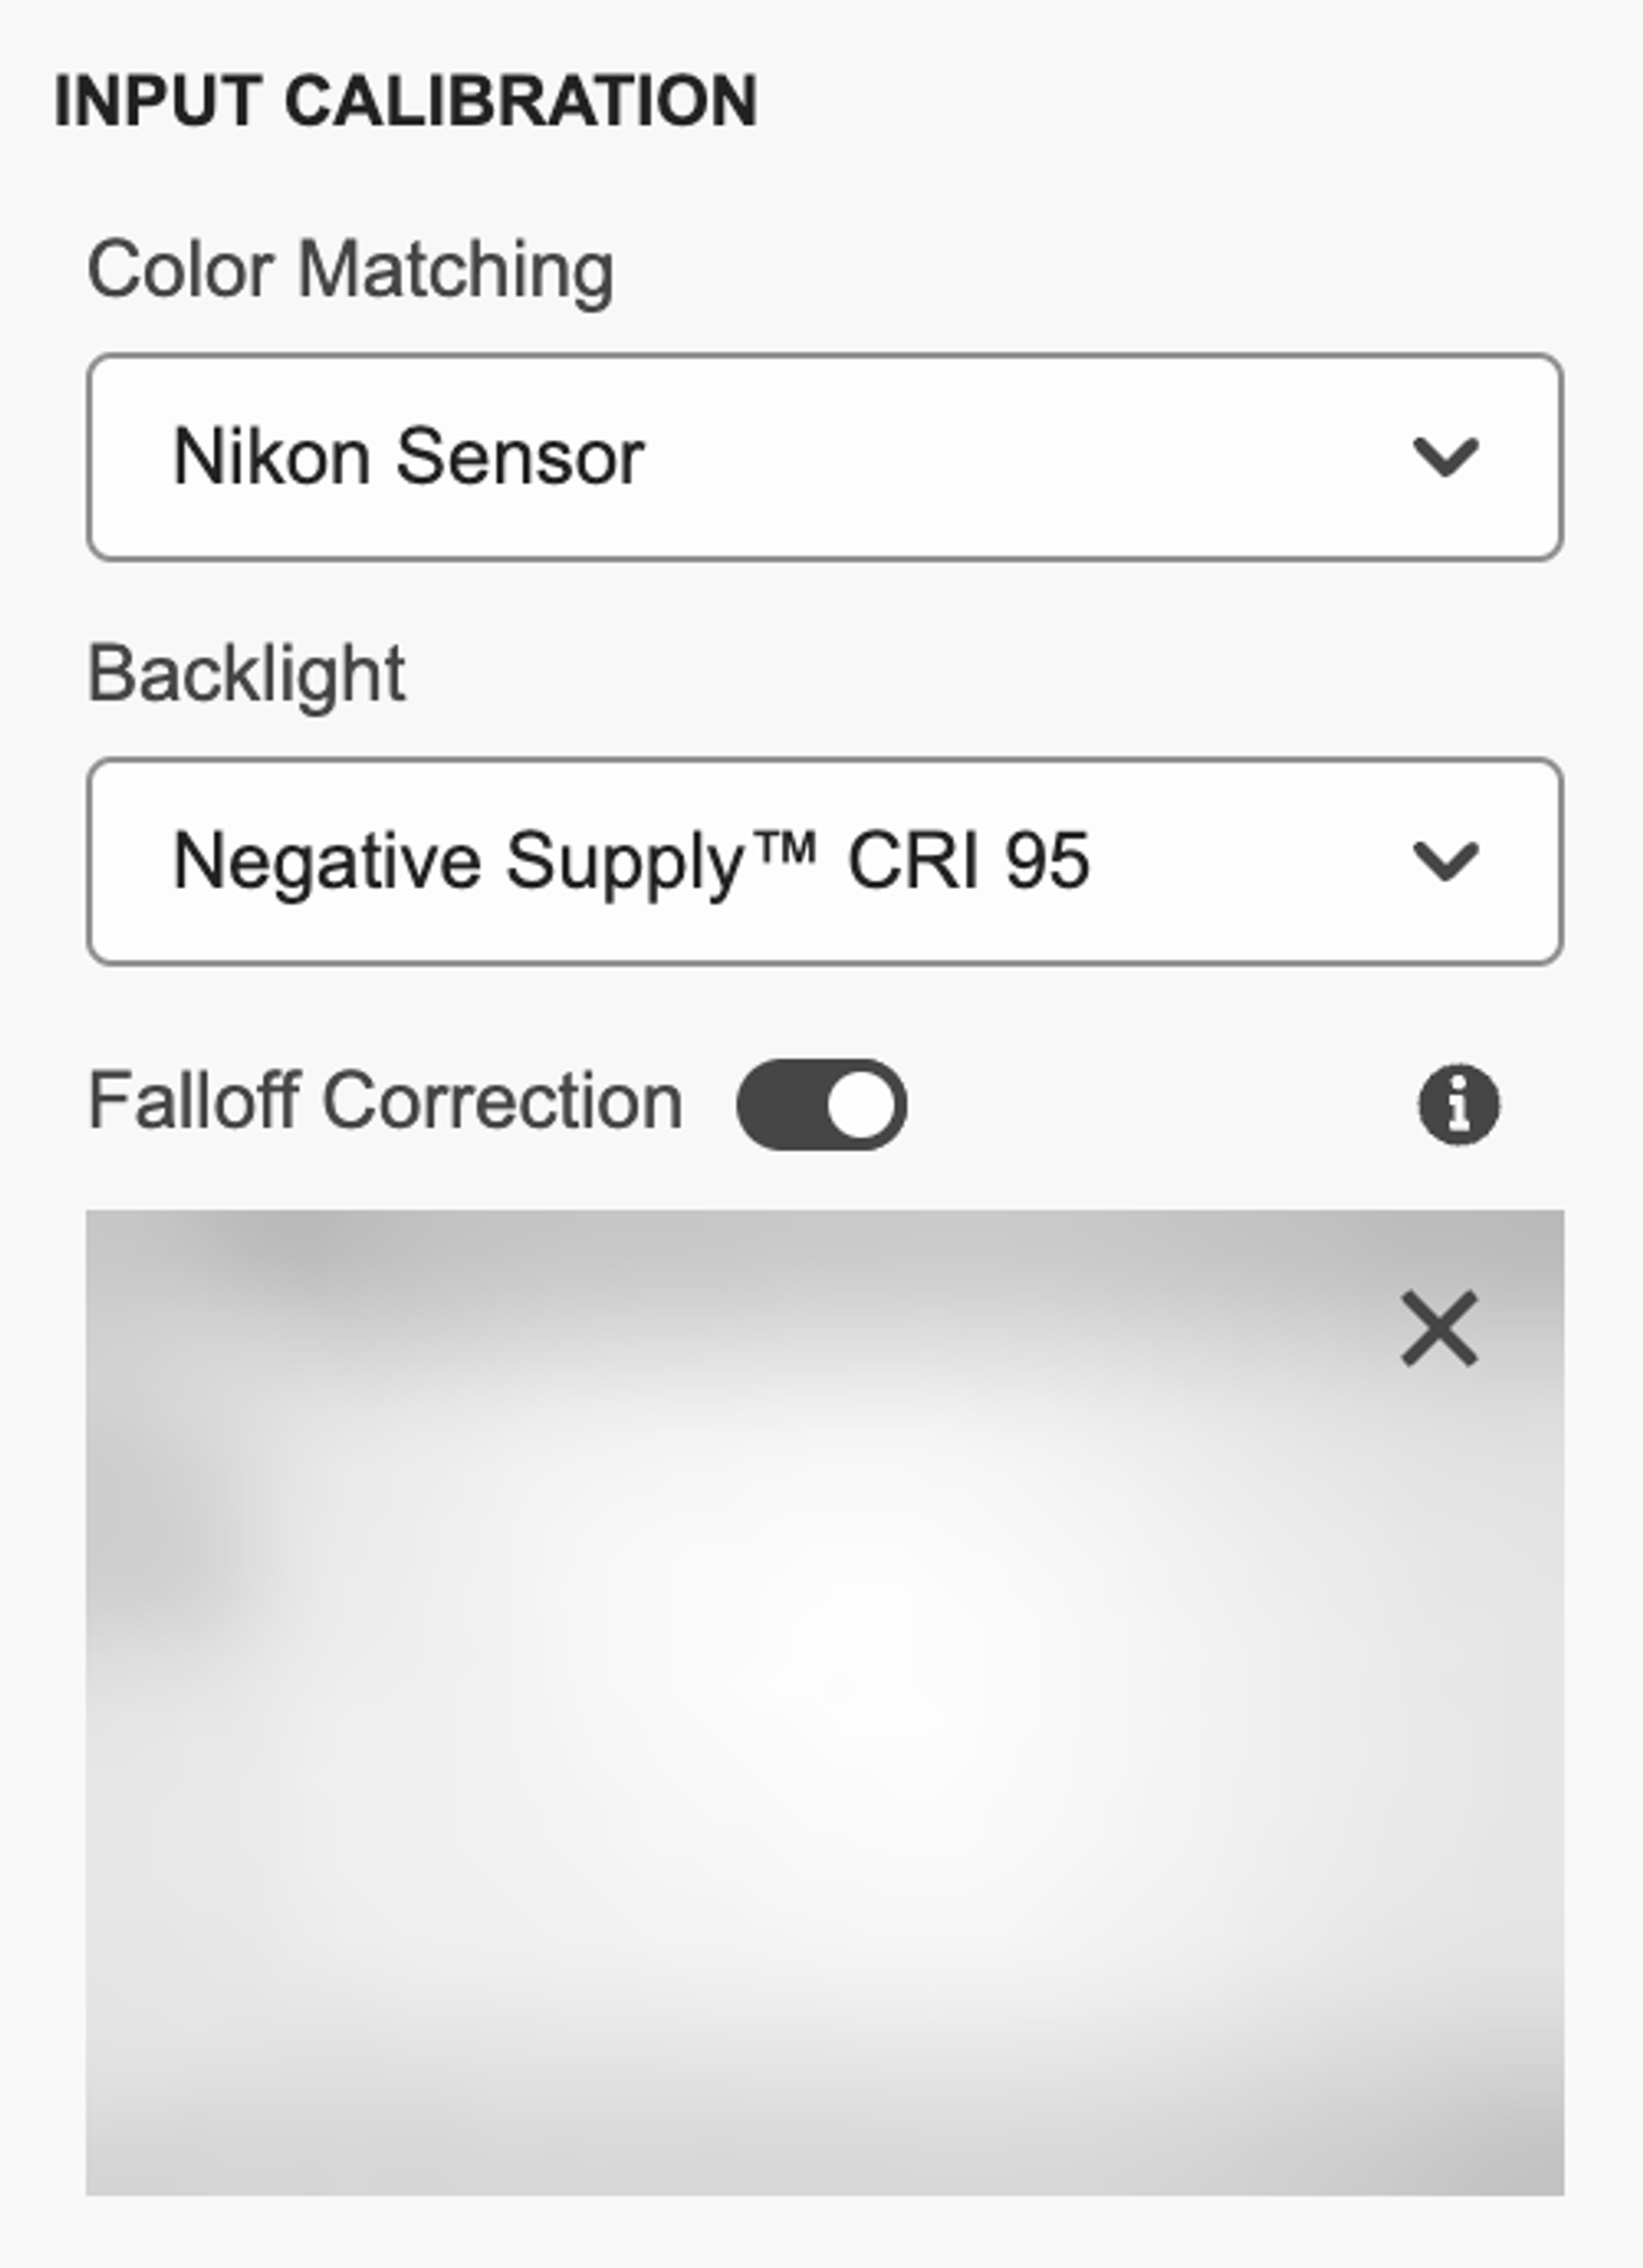
Input Calibration. This section is optional, but helpful when you’re trying to get the best possible results.
If you’re converting a raw image captured with a digital camera, set the Color Matching slider to match the brand of camera used. Then set the Backlight slider to match the kind of light source you used to illuminate your film. FilmLab uses these two settings to more accurate interpret the raw data and produce better output colors.
The Falloff Correction tool helps fix issues with uneven backlights and scanning lens vignetting. To use this tool, take a picture of your backlight using the exact same camera, lens, and positioning that you used for scanning your film (we recommend making a habit of doing this every time you start a scanning session). In FilmLab, turn on Falloff Correction and select the image file showing your backlight. FilmLab will analyze the evenness of the light and apply compensation to the current image.
Exporting Images
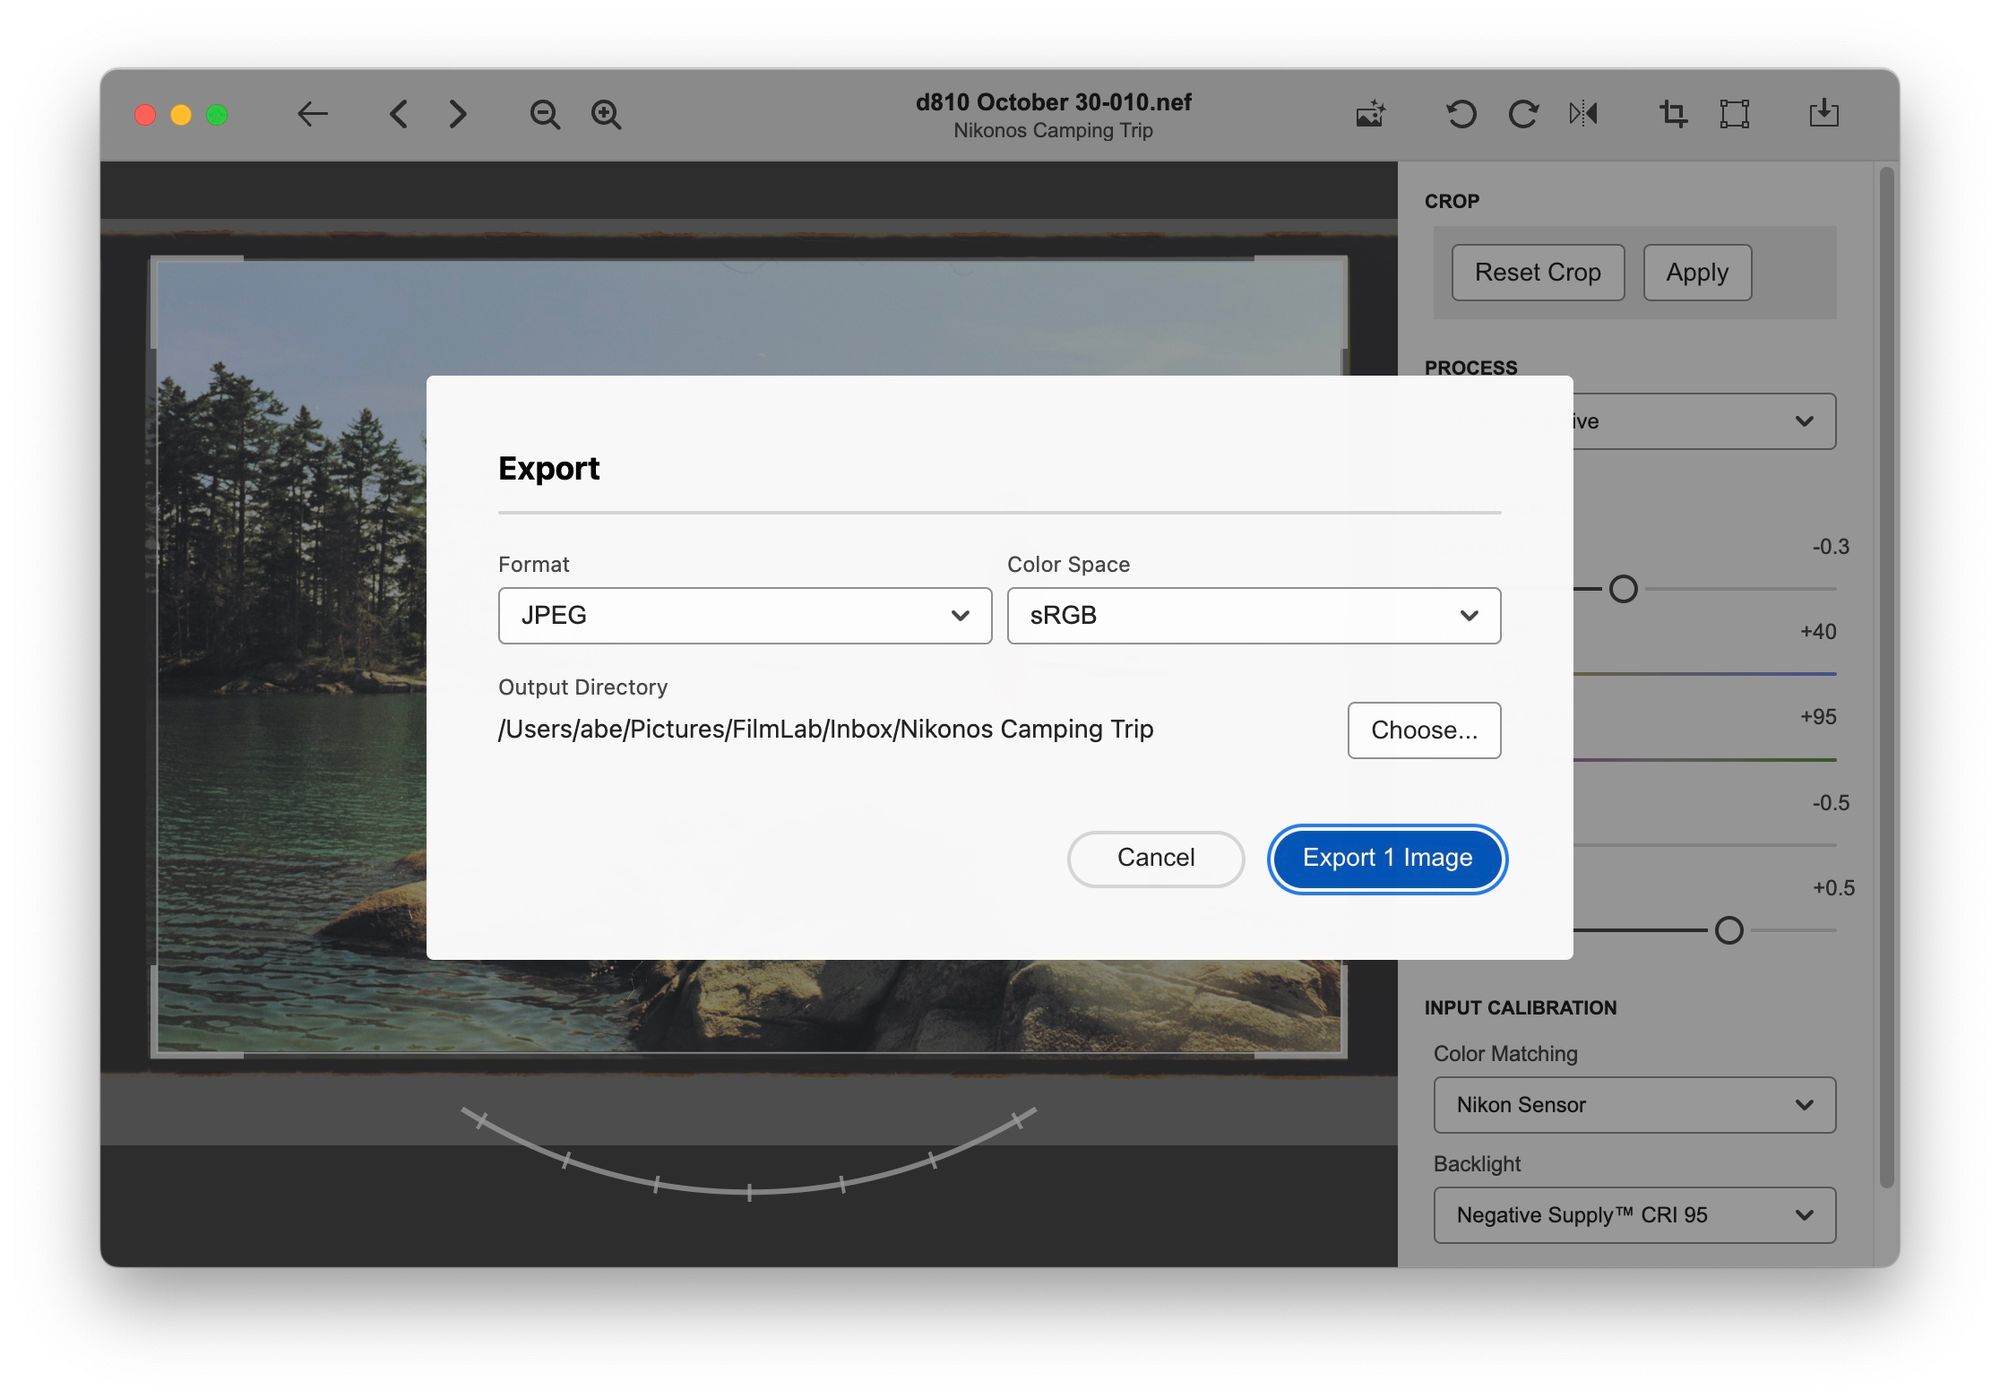
When you’re finished making adjustments, you can export finished images for sharing or post processing. Currently FilmLab supports three image format options (JPEG, 8-bit TIFF, and 16-bit TIFF) and one color space (sRGB, the most common color space used for viewing images on computers and mobile devices).
We’ll be adding support for more color spaces in future updates.
Which image format should you choose? We recommend JPEG for most cases, since these files are much smaller than TIFF and have little visible reduction in quality. However, if you’re planning on doing post processing in another program and need the highest quality files, the TIFF options may be a good fit. An 8-bit TIFF has the same color precision as a JPEG, but without any lossy compression applied. A 16-bit TIFF has extra color precision, but takes up twice as much room on disk.
Non-Destructive Editing and FPRC files
FilmLab is a non-destructive image editor. When you open an image of a film negative in FilmLab and turn it into a positive, the original image of the negative isn’t modified. Instead, FilmLab creates a set of instructions on how to process the input file to produce the finished photo. These instructions can be changed at any time if you want to adjust the look of a photo.
FilmLab stores its processing instructions in a file with the extension
.fprc (FPRC is an abbreviation of “FilmLab Processing”). These files are stored in the same directory as the input file, using the filename of the input file with an .fprc extension. For example, if you open the file IMAGE01.NEF in FilmLab, FilmLab will create a new file in the same directory named IMAGE01.fprc. The original file will never be modified, but any time you make edits the .fprc file will be updated.To share work you’ve done in FilmLab with someone else, or to sync your edits between computers, you can store your input images and
.fprc files in a shared folder or network drive. If you do this, keep in mind that FilmLab does not currently support collaborative real-time editing. So it’s best to avoid editing the same image on two different computers at the same time — this could result in your edits getting overwritten or lost.If you delete the
.fprc files created by FilmLab, your original scanned image files will still be there, but your edits will be gone. If you open the input files in FilmLab again in the future, you’ll have to start editing from scratch.