Just looking at the version numbers, you might not think that FilmLab Desktop 2.5 is a big upgrade. But there are actually a huge number of new features and improvements. Let’s take a look at our favorite improvements in FilmLab 2.5, counting down from 10 to 1.
10. The new brightness control
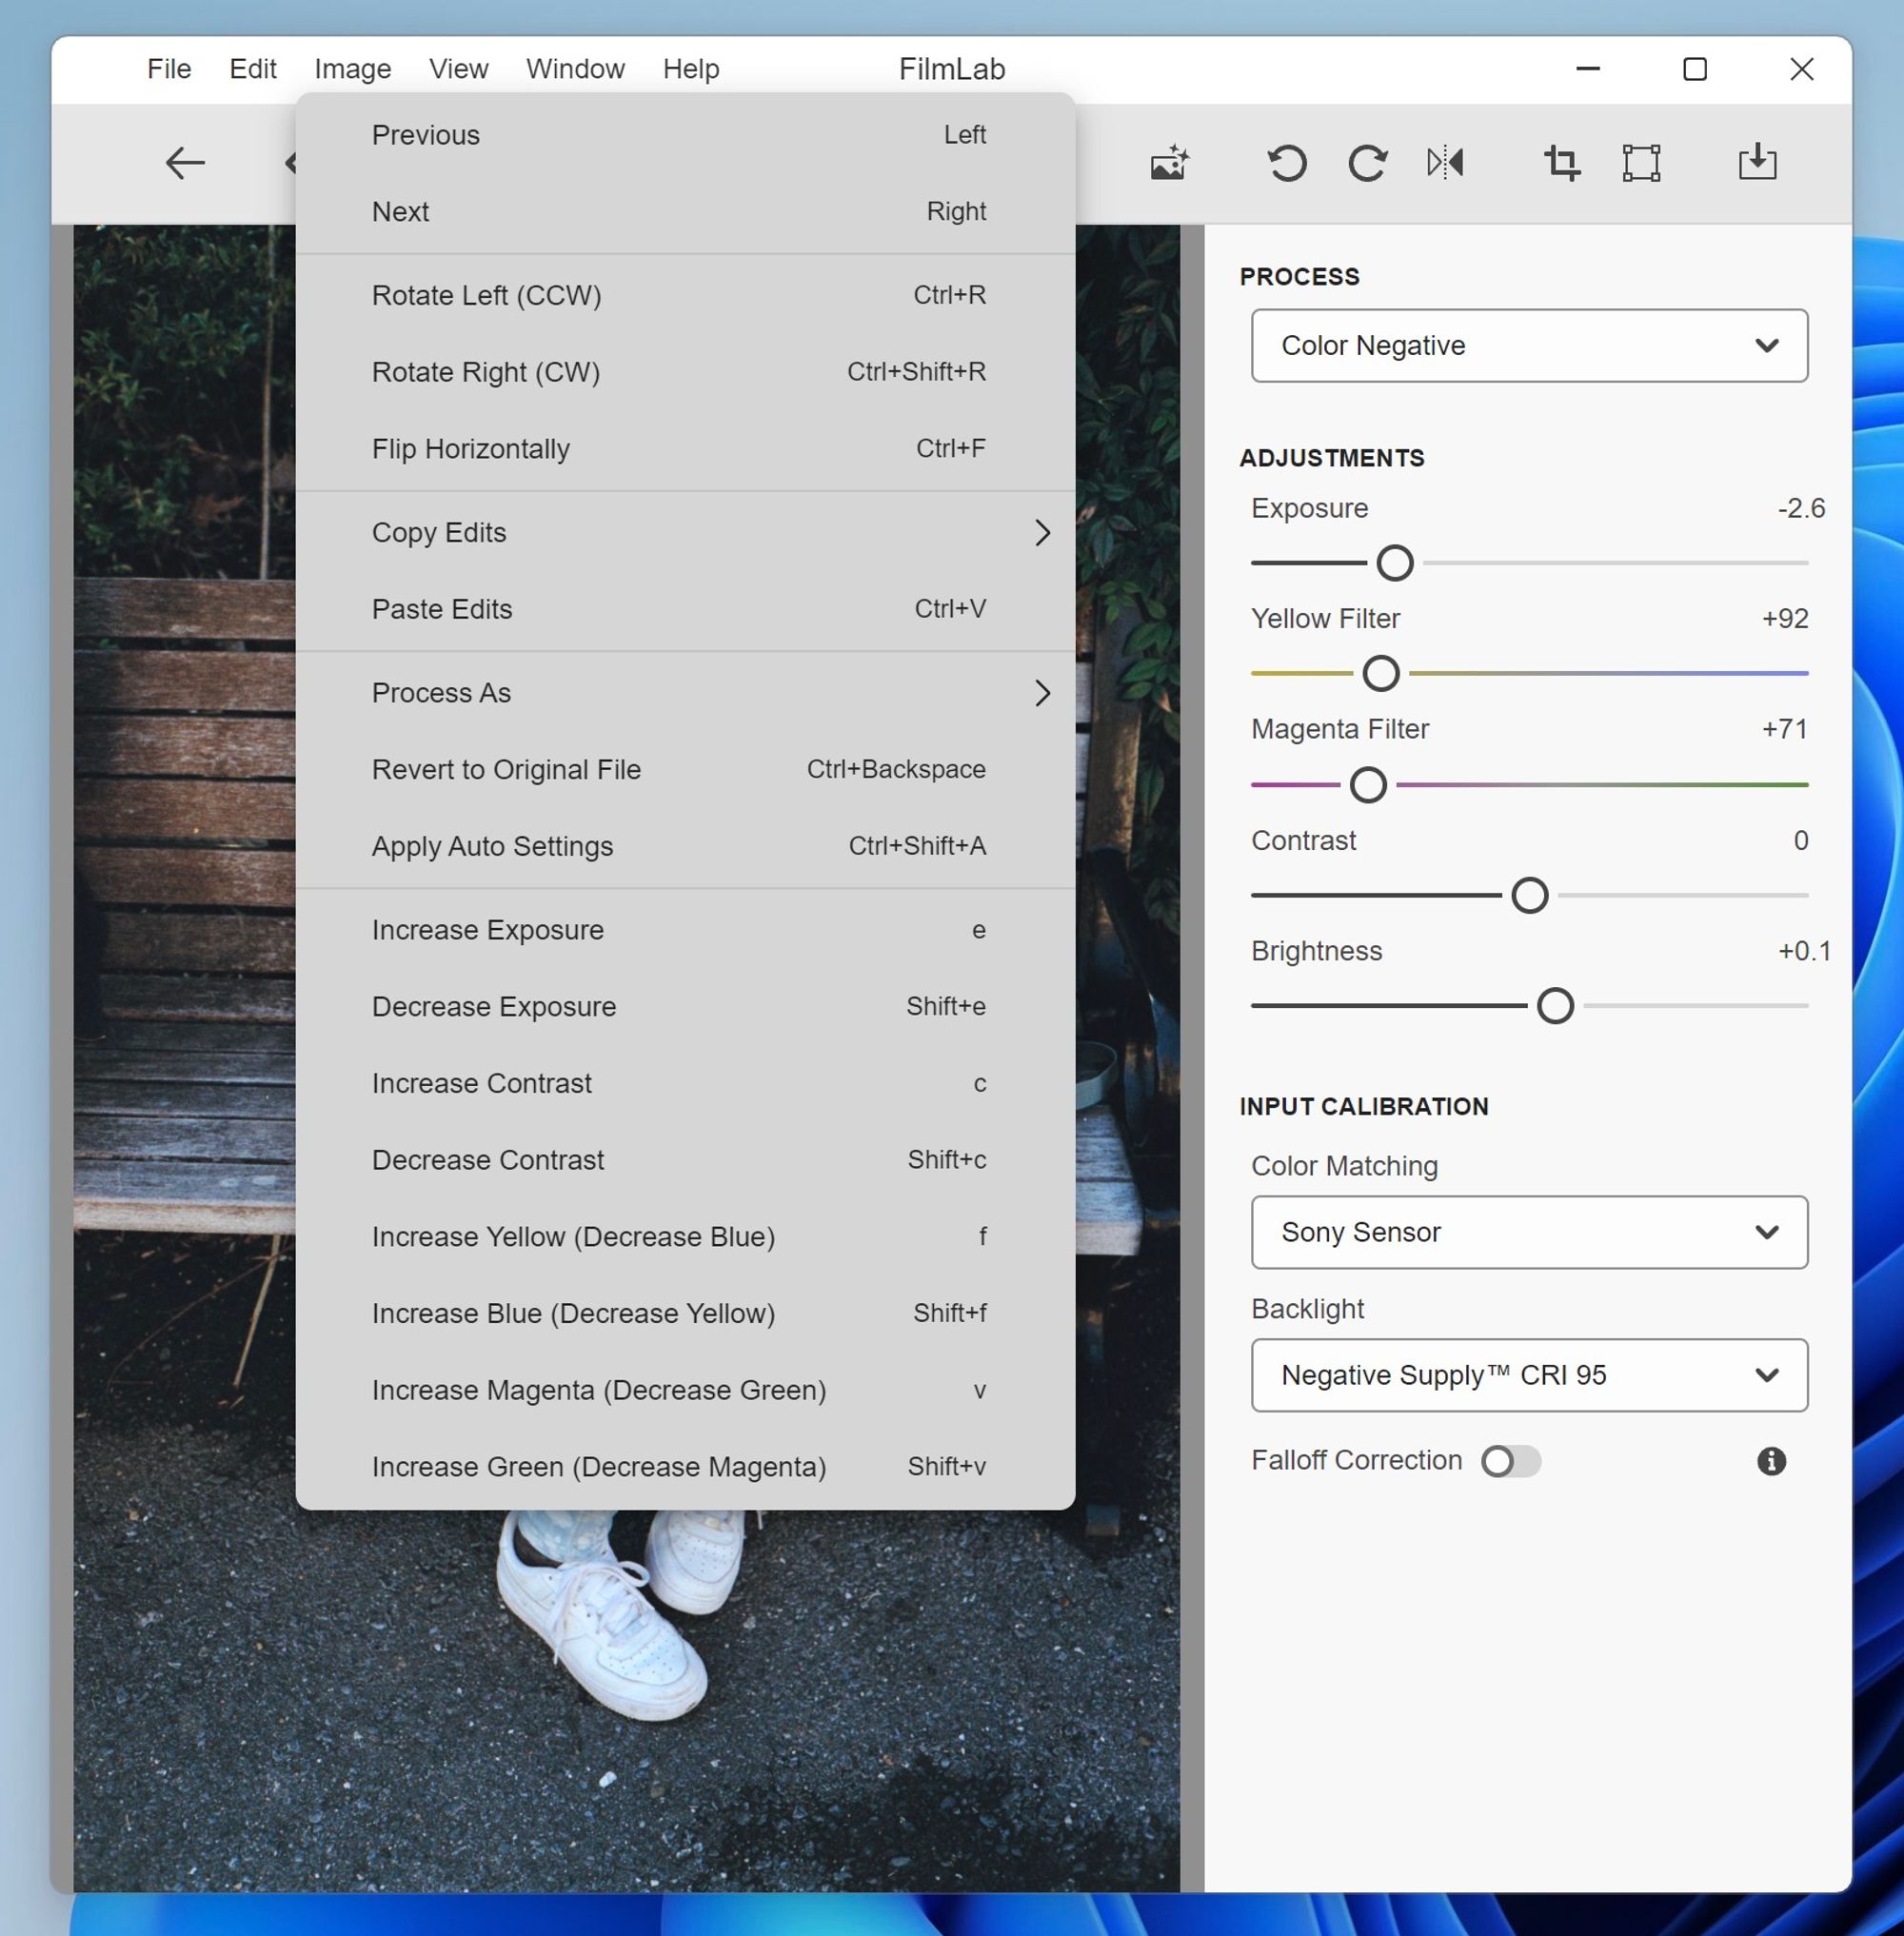
FilmLab 2.5 has a brand new brightness control which works much better than the one in older version. The old brightness control would go completely black at the low end and was prone to clipping highlights at the high end. The new control offers a smooth range of usable brightness settings, with no clipping.
9. Keyboard shortcuts for everything

FilmLab 2.5 has an extensive set of keyboard shortcuts for navigation editing. These shortcuts work for editing single images, as well as batch editing multiple images in the folder view (see #3 and #2 below). If you prefer the speed of keyboard commands, you’ll love the new FilmLab.
8. Bug fixes
FilmLab 2.5 has a huge number of bug fixes, including crashing bugs, image rendering bugs, and bugs opening raw files from certain cameras. It also fixes a longstanding issue where non-English characters (like Asian character sets or Latin characters with accent marks) would cause problems opening and saving images.

7. The new free trial mode

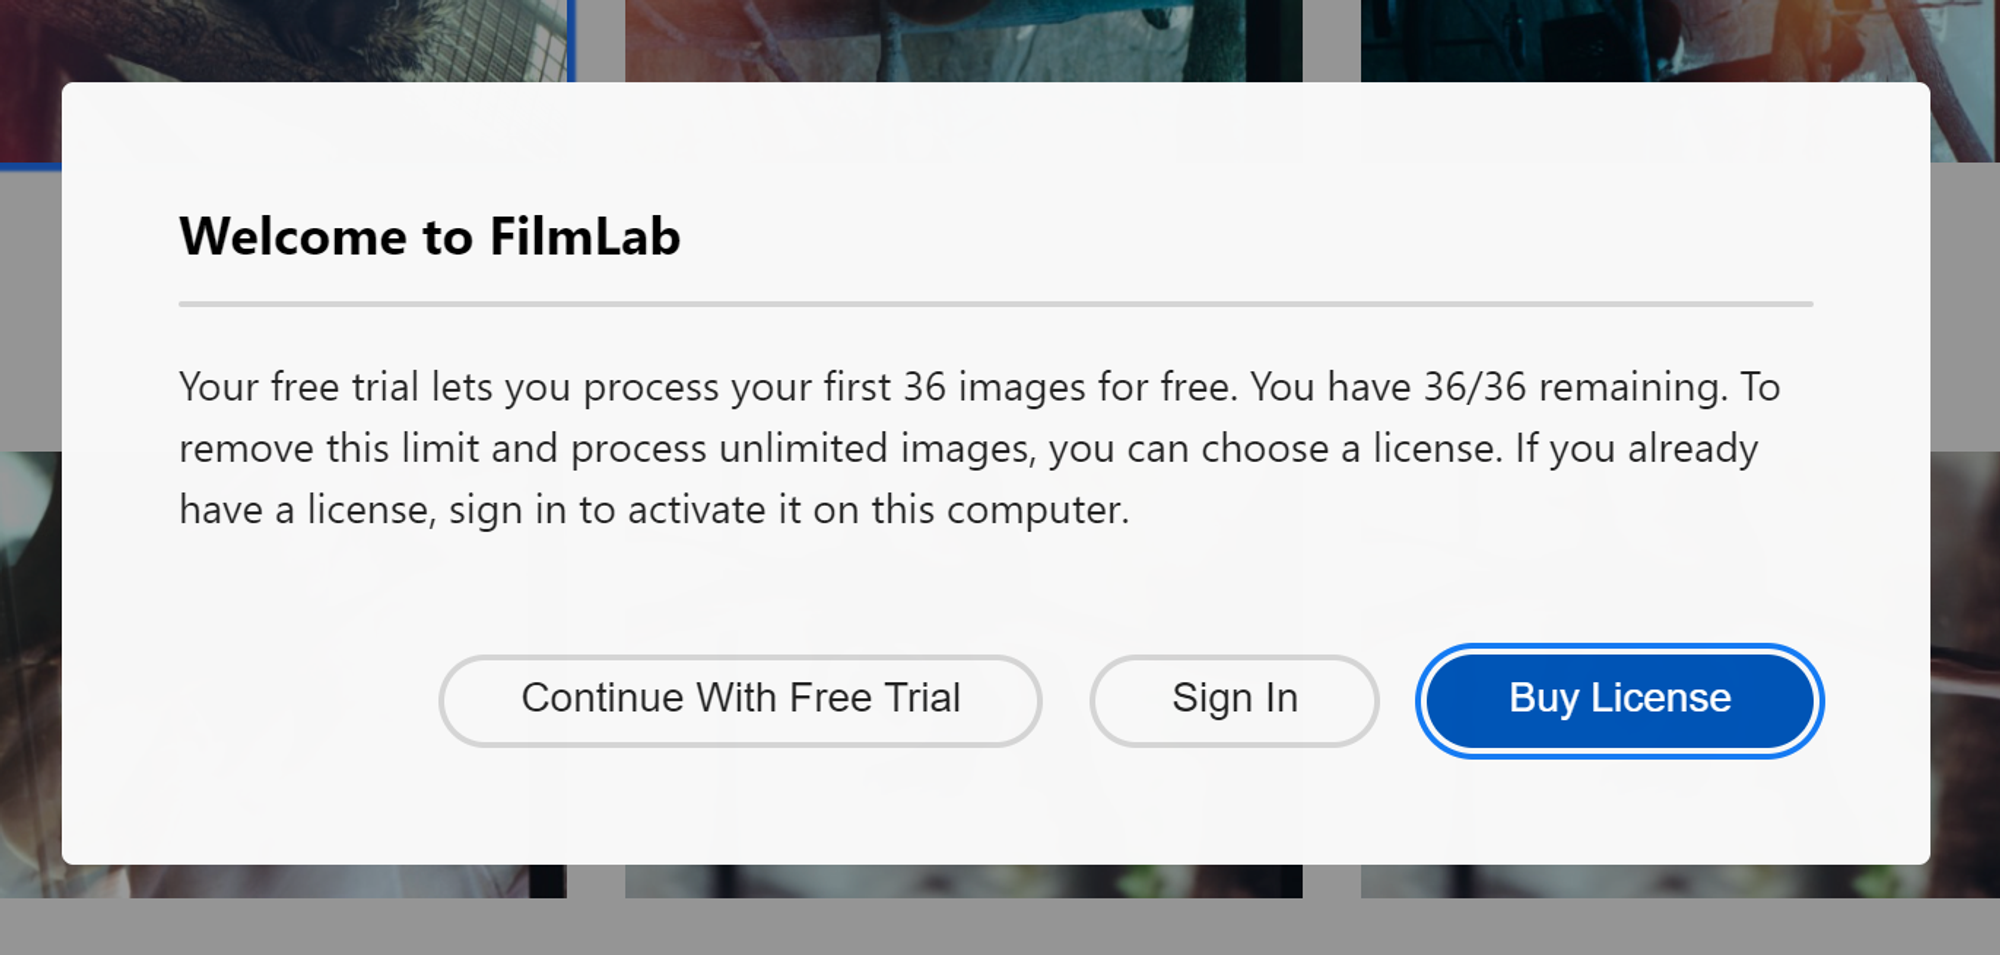
FilmLab used to have a time-based free trial mode: You had 14 days after install to try it out for free before you had to buy a license. This wasn’t ideal, as it was possible for the trial period to end before a person ever loaded a single image. The new free trial is based on 36 free images, enough to process an entire roll of 35mm film.
6. A manual
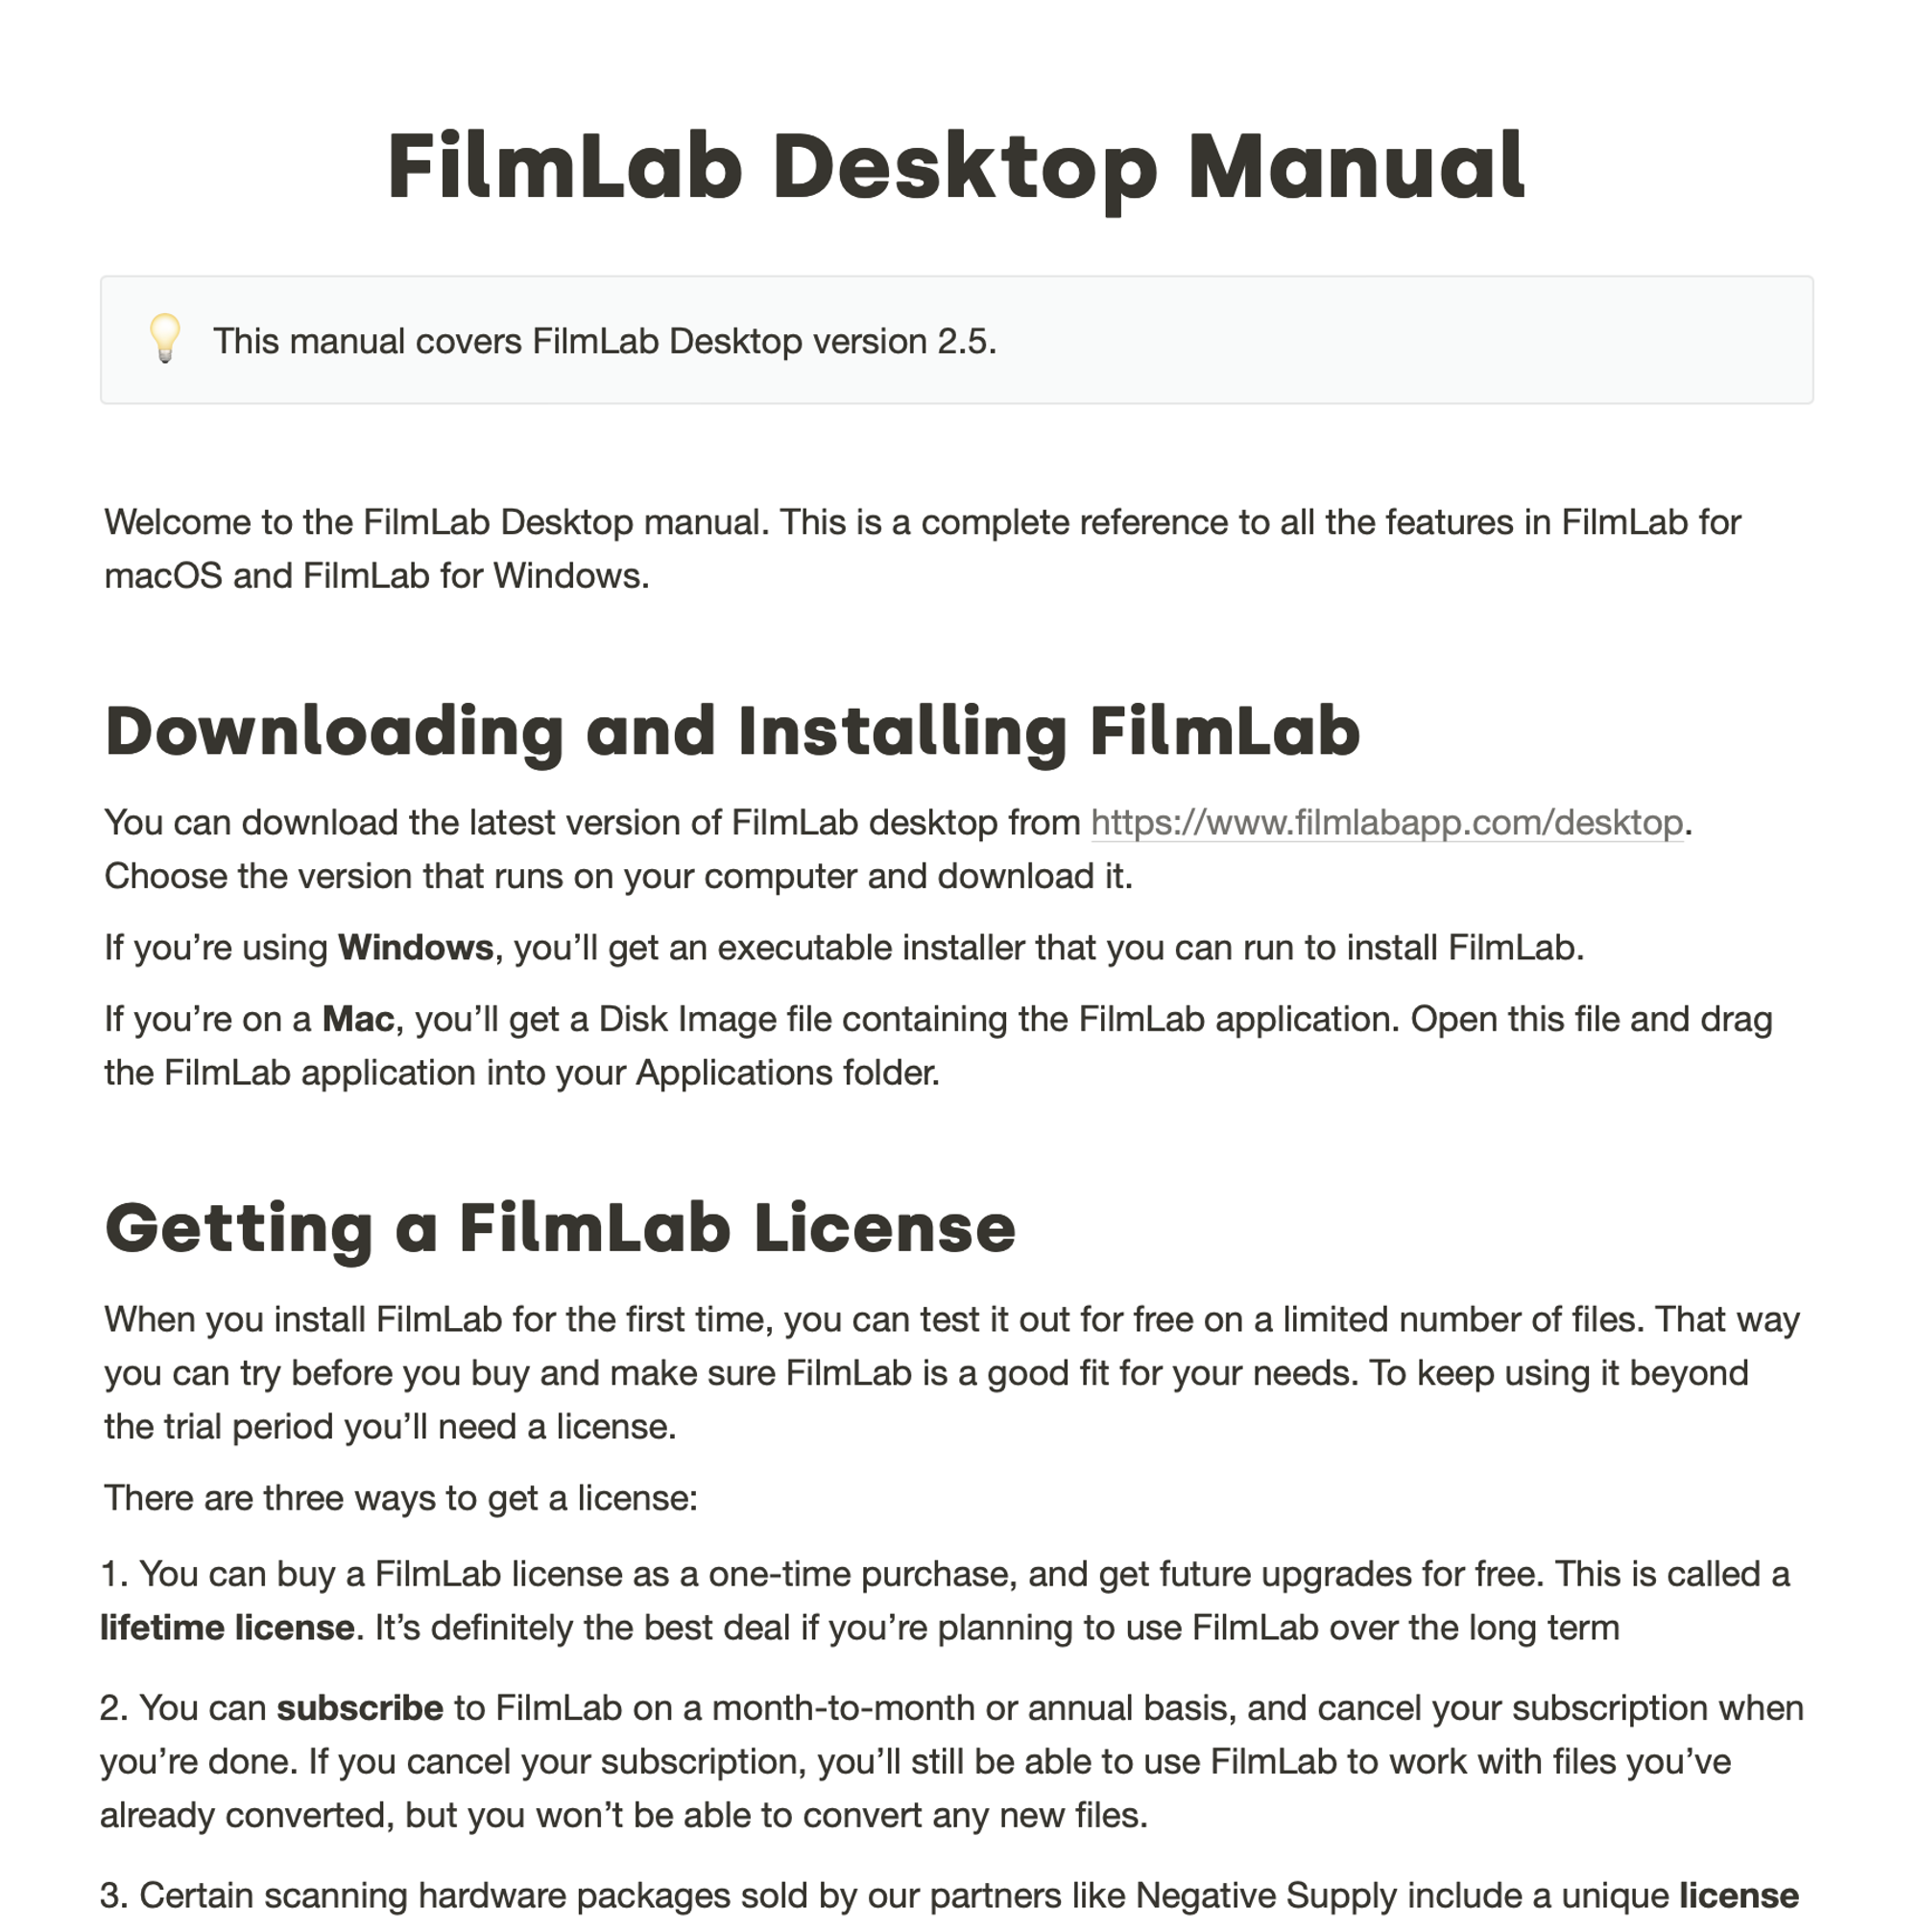
As FilmLab has grown in its capabilities, many of our users have been asking for a manual. So with the 2.5 release, we resolved to finally write one, and we did! You can read the FIlmLab 2.5 manual here. Besides covering the basics, it has a bunch of tips and tricks to help you everyone get the best use of out FilmLab.

5. It’s so much faster
One of the areas we focused on when developing FilmLab 2.5 was speed. FilmLab used to be pretty slow to load images and move between images, as it had re-process the raw file each time. In addition, older versions weren’t optimized for Apple M-series chips, which made FilmLab run slower on new Macs.
FilmLab 2.5 is much faster. It loads images faster the first time, and stores thumbnails to avoid have to re-process raw images. The app loads faster (especially on M-series Macs), and navigation between images happens in the blink of an eye.
4. Non-destructive stored edits
FilmLab has always been a non-destructive editor: it applied changes on top of raw input files, without ever modifying the files themselves. Unfortunately, before FilmLab 2.5 these changes weren’t saved when you closed an image. So if you wanted to re-process one of your scans, you had to start editing from scratch.
In FilmLab 2.5, your edits are automatically saved (in a sidecar file ending with
.fprc). You can quit FilmLab at any time, and when you open it back up all your edits will still be there, waiting for you to pick up where you left off.3. The folder view

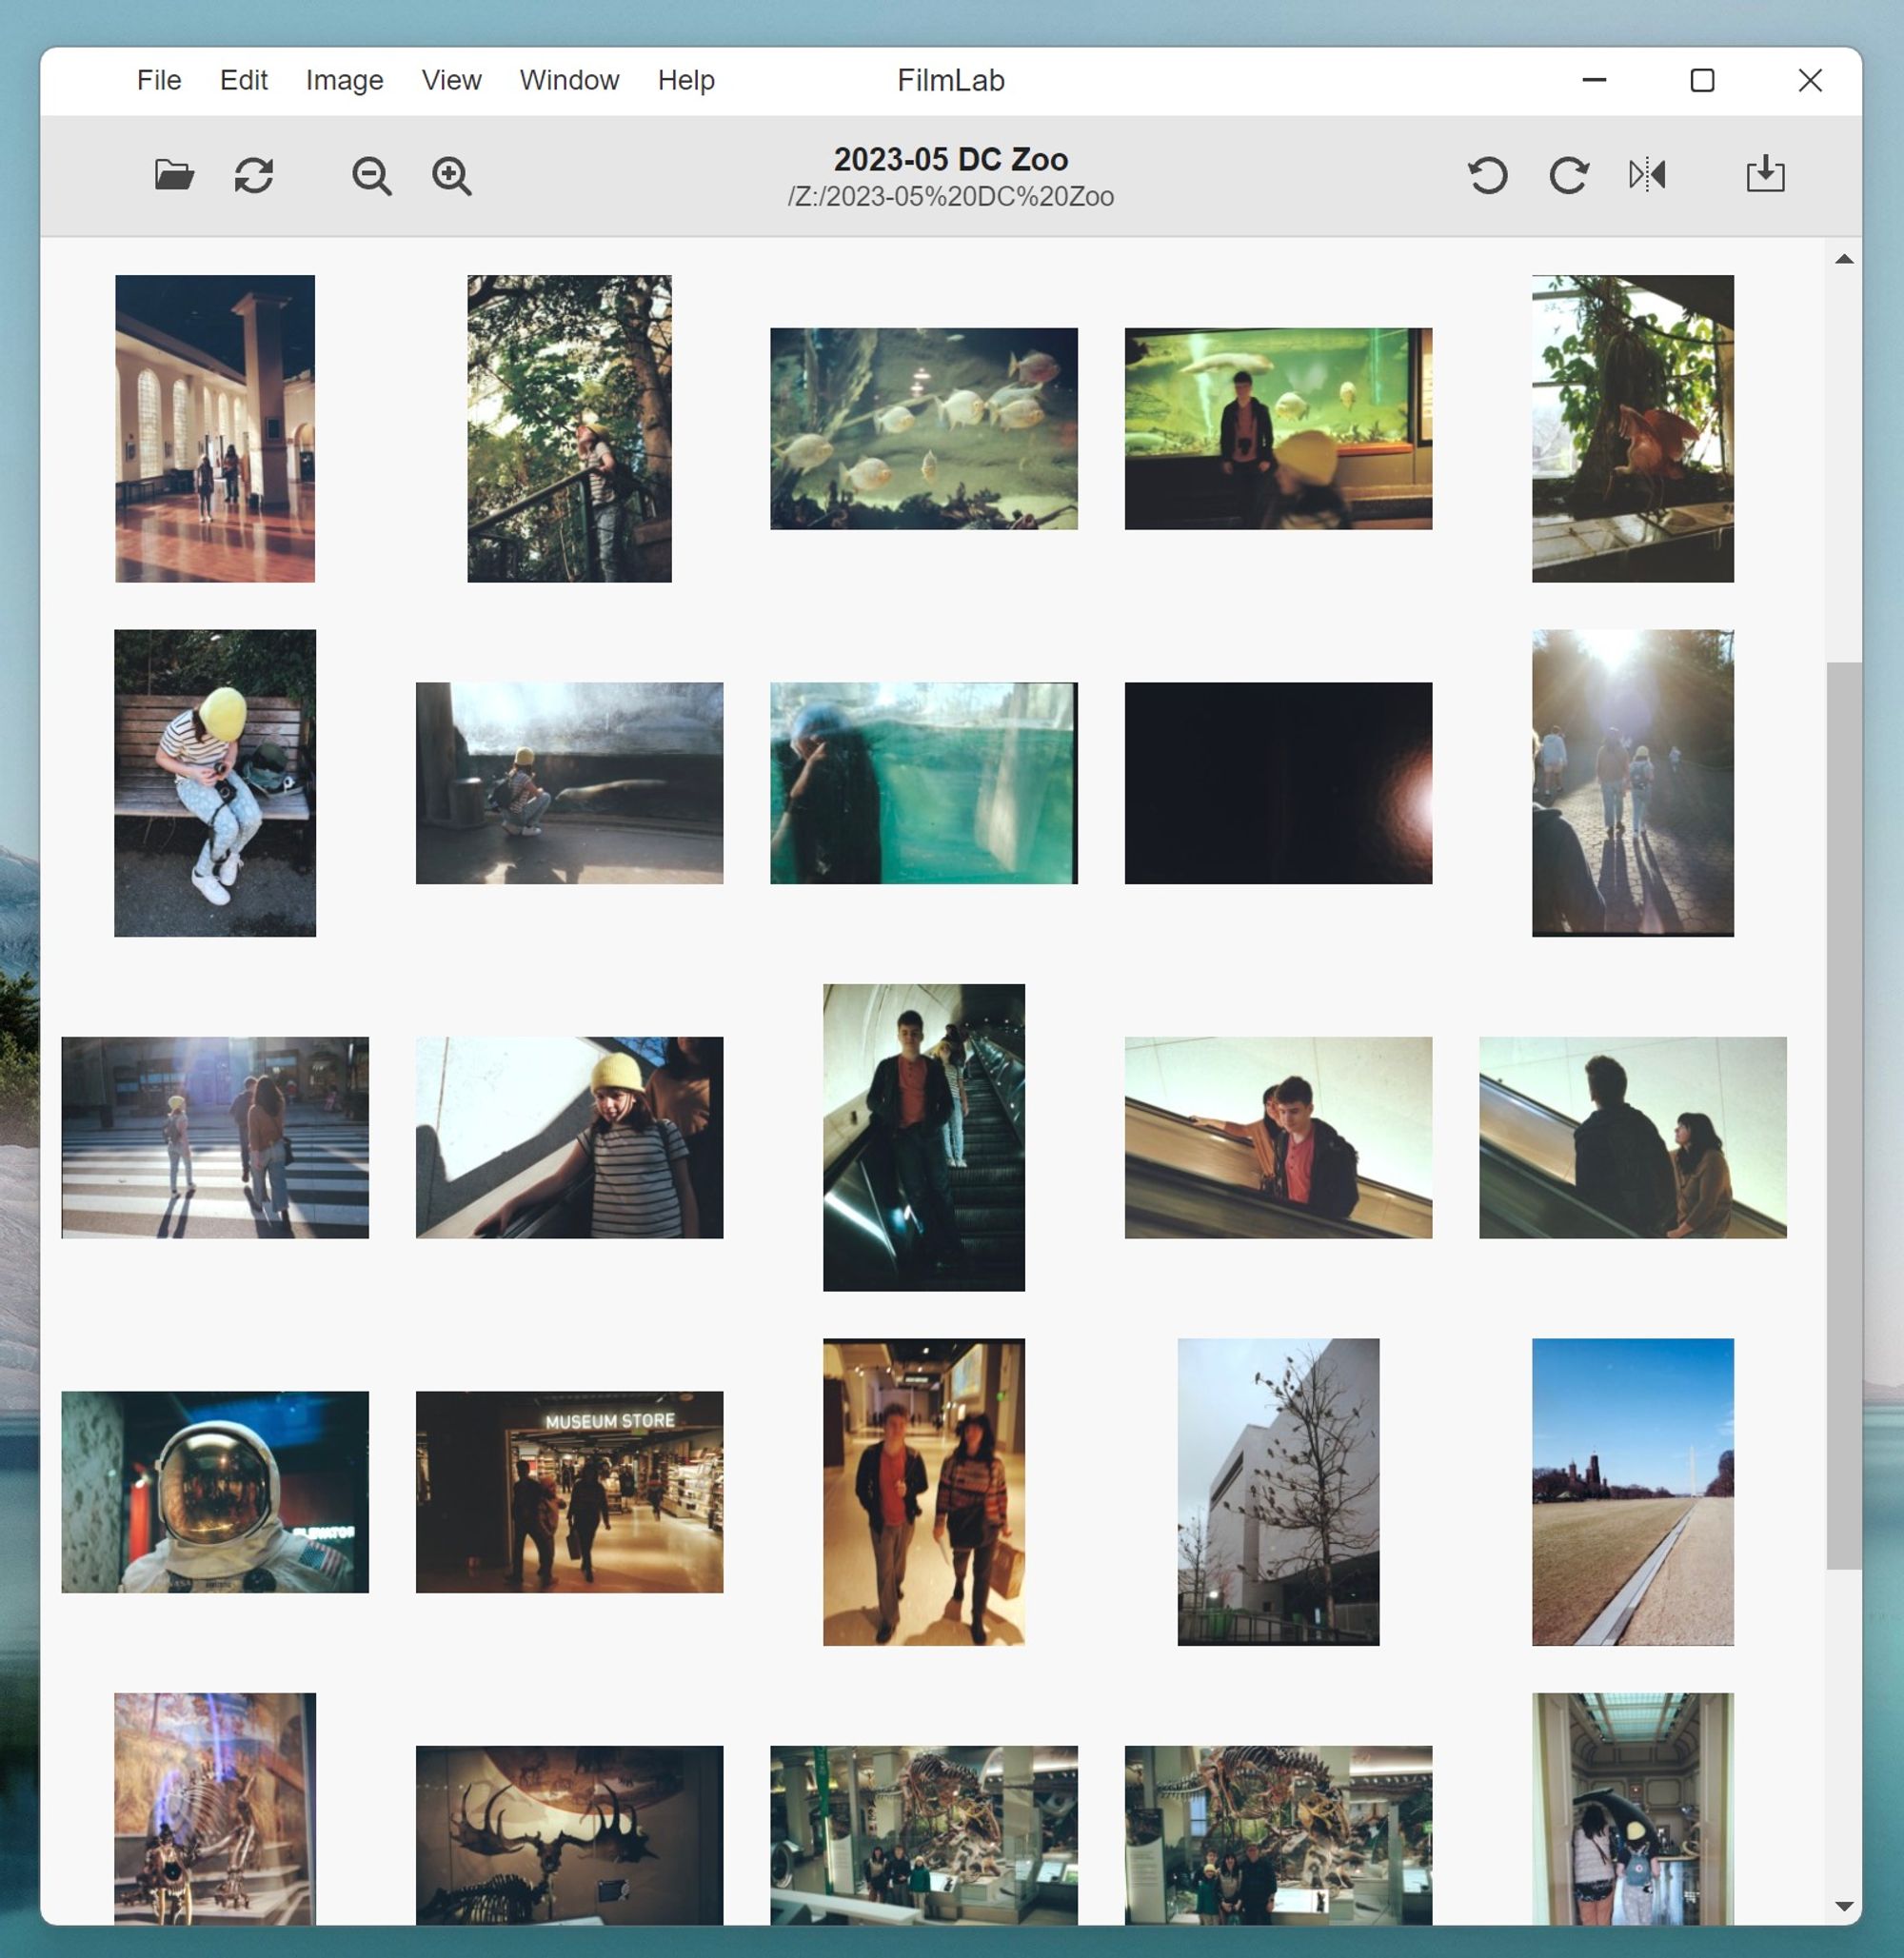
FilmLab 2.5 has a folder view! You can view and work with an entire directory of scans at once. This is super handy for seeing a set of related images (like an entire roll of film) in context. You can even zoom in and out using the toolbar magnifying-glass buttons or the
+ and - keys.But the folder view is for more than just viewing - it’s also for editing! Which brings us to #2 on our list…
2. Batch editing
One of the most powerful new features in FilmLab 2.5 is batch editing. In the folder view you can select a single file, all files, or a custom set of files, and then edit them all at once. This makes the initial process of converting scanned negatives so much faster.
You can also copy and paste settings between images, which is handy when you’ve finished editing a single image and want to apply the same settings to all the other images in a roll.
1. Crop tools!
For the new #1 feature in FilmLab 2.5, we have to celebrate the new crop and perspective tools. These have been requested by our users for a long time, and we’re so happy to finally release them!
FilmLab 2.5 has two ways to crop an image. First, there’s a crop/rotate tool that works similarly to the crop feature in most image editing programs. Second, there’s a corners tool, which lets you crop and correct perspective at the same time by choosing the four corner points of your frame. This is handy if you were hand-holding your camera or phone when you scanned your film, and ended up with a scan that wasn’t perfectly square.
Once you’ve used the corners tool to correct perspective, you can use the regular crop tool to fine tune your crop.
So that’s our list of the top 10 improvements in FilmLab 2.5. We hope you’ll agree that this is a huge upgrade that makes FilmLab faster, more useful, and more fun to use. If you haven’t had a chance to try it yet, download it today!